
Altaro is a company specialized in backup solution for Microsoft environment. Altaro purposes personal and professional backup solution. Altaro has made two professional solutions: File Servers backup and Hyper-V backup. In this article, I will talk about this last.
Hyper-V Backup is a solution that enables to protect virtual machines hosted by Hyper-V (standalone or cluster). The supported Windows Server edition are 2008R2, 2012 and 2012R2. Hyper-V Backup uses VSS (Volume Shadow Copy) to avoid VM downtime.
For some time I work with backup tools especially System Center Data Protection Manager. So I can say that backup tools need a lot of time of management for many reasons such as a user interface which is not ergonomic or the backup / restore that doesn’t work properly. With Hyper-V backup, I was impressed by the easy to install and configure the solution. There is no database to install and the configuration is easy thanks to the good user interface. In my mockup, I have replaced the backup solution from Data Protection Manager to Hyper-V Backup! But rather than long speeches, I will show you with some screenshots how Hyper-V Backup works.
Altaro Hyper-V Backup Installation
System requirements
- 128 MB RAM
- 100 MB Hard Disk Space (for Altaro Hyper-V Backup Program and Settings files)
- MS .NET Framework 3.5 on Windows Server 2008 R2
- MS .NET Framework 4.0 on Windows Server 2012
- Windows 2008 R2 (all editions)
- Windows 2008 R2 SP1
- Windows Hyper-V Server 2008 R2 (core installation)
- Windows Server 2012 (all editions)
- Windows Hyper-V Server 2012 (core installation)
- Windows Server 2012 R2 (all editions)
- Windows Hyper-V Server 2012 R2 (core installation)
Installation
Altaro Hyper-V Backup must be installed on Hyper-V host. Note that my installation is made on a Hyper-V host that is not in a cluster. For Hyper-V clusters, the installation is different.
So on your Hyper-V host, run altarohypervbackupsetup.exe. If your Windows Server is without graphical shell, just launch this executable from the command line.
On the first screen, just click on Next.

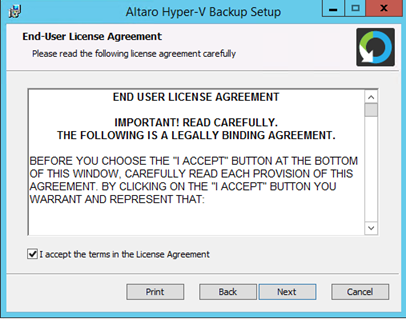
On the next screen, accept the license agreement and click on Next.
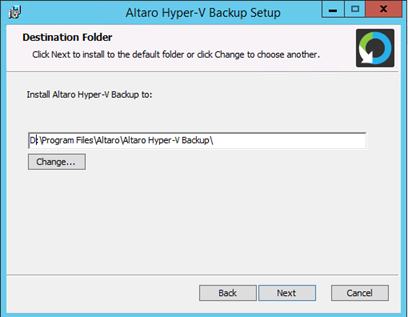
Specify the destination folder and click on Next.
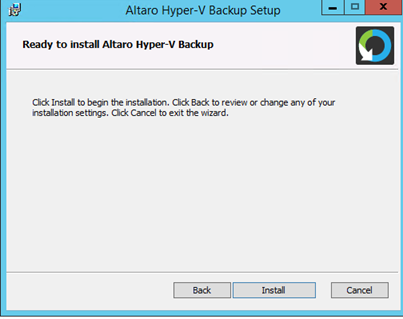
Next click on Install…
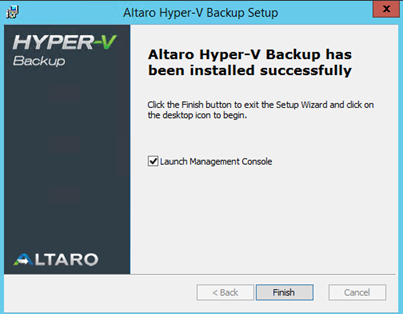
And that’s all. Hyper-V Backup is installed. No SQL Server and no other requirements except .NET: it is really appreciable.
Because my Hyper-V host is without graphical shell, I have installed Altaro Management Tools on my Remote Desktop Server (Next, Next, Next installation, pretty easy).
So I launch my console and I’m connecting to my Hyper-V Backup agent at hyperv01.home.net.
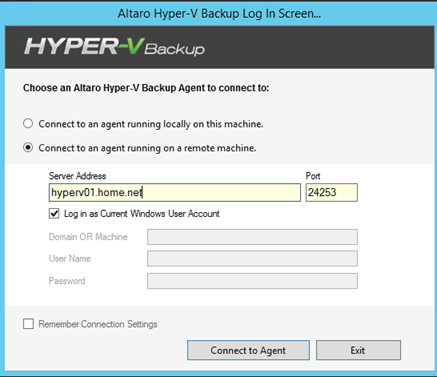
Hyper-V Backup discovers all VMs that are deployed on my mockup. So nothing to do to discover VMs.

Configuration
Add a backup location
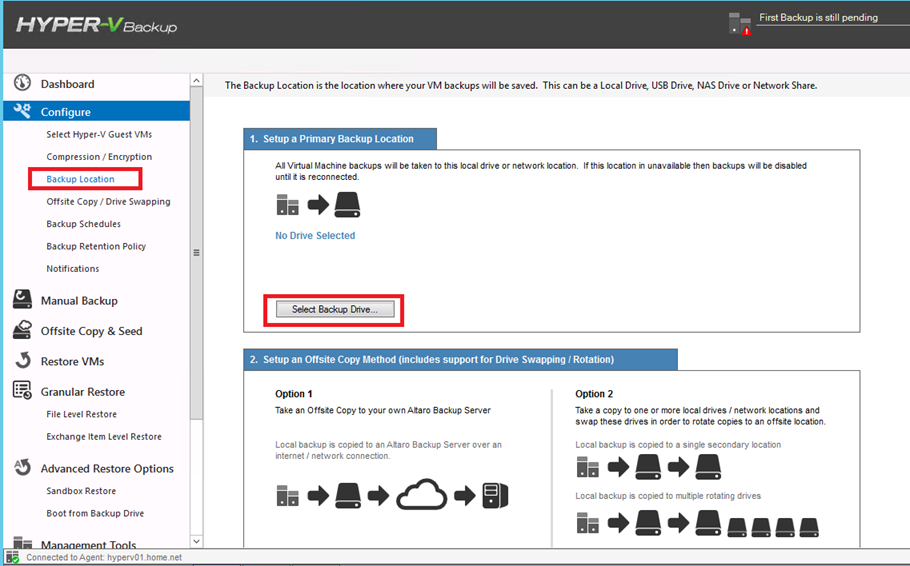
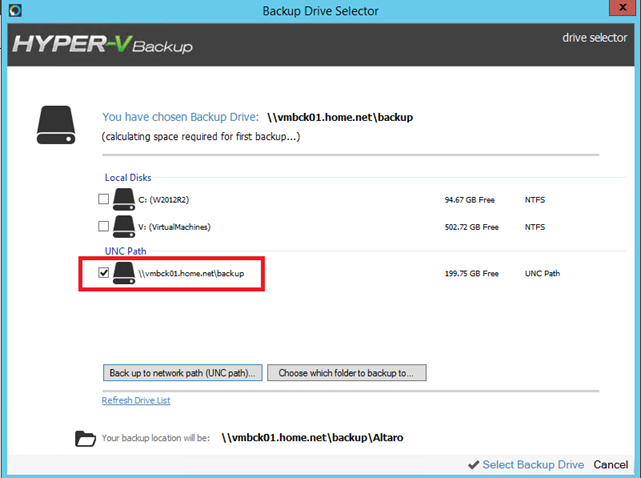
First, I add a backup location. For that click on Backup Location and Select Backup Drive.
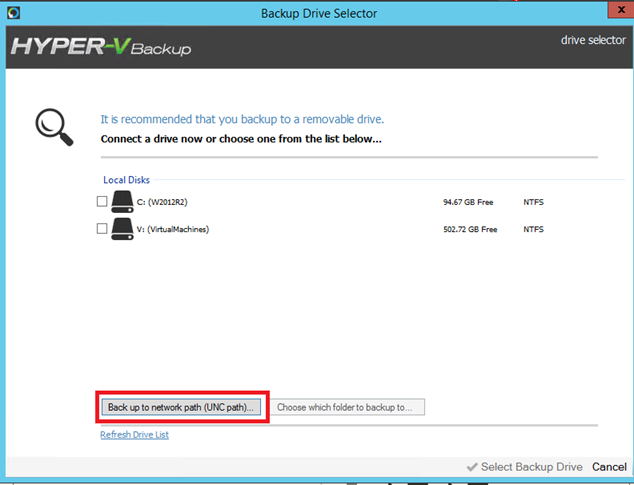
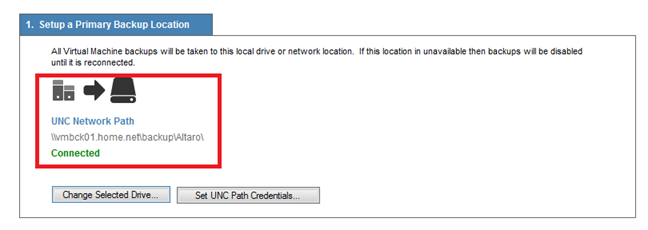
In my example I have created a share on the network to store backup. I don’t want to store backup on my Hyper-V host. For my definitive configuration, I will mount an iSCSI volume on my Hyper-V host. So for this example I have clicked on Back up to network path (UNC path).
Specify the UNC path and the credential. You can test your credentials (recommended) before adding the network location.
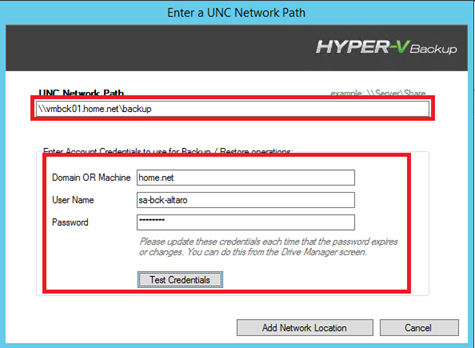
And once you have seleceted your backup location, click on Select Backup Drive.
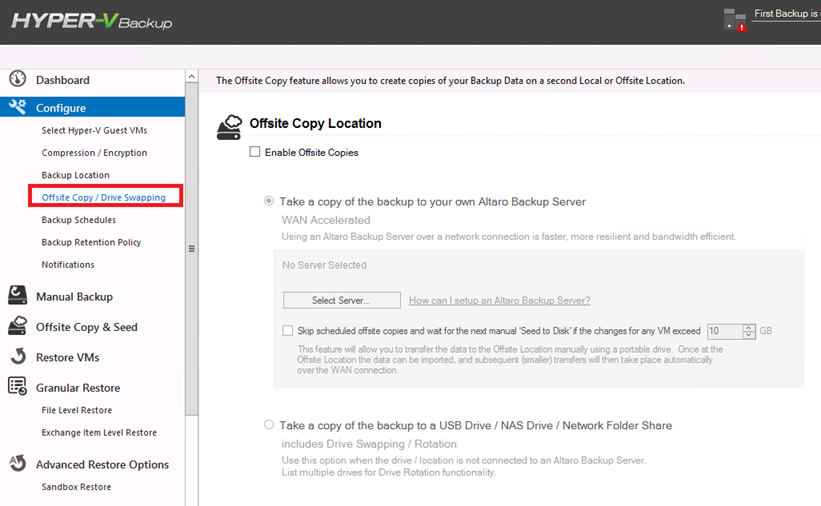
Altraro Hyper-V Backup is able to copy backup on an offsite with Altaro Backup Server.
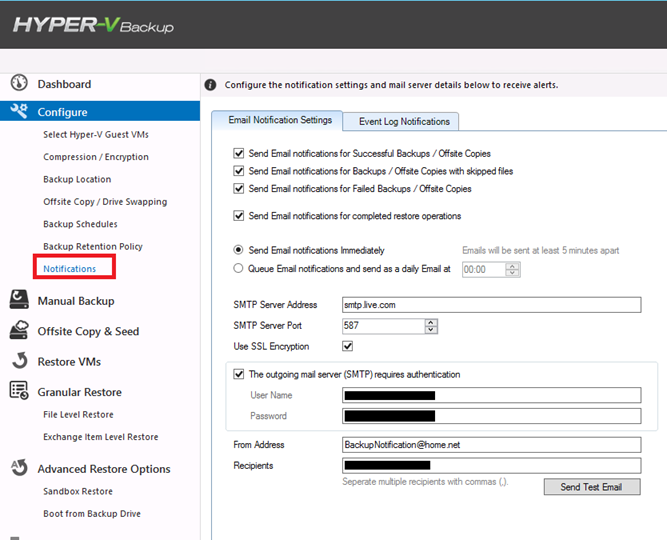
Notification
To finish configuration, I have set E-mail notifications to send me E-mail on some events:
Make a backup
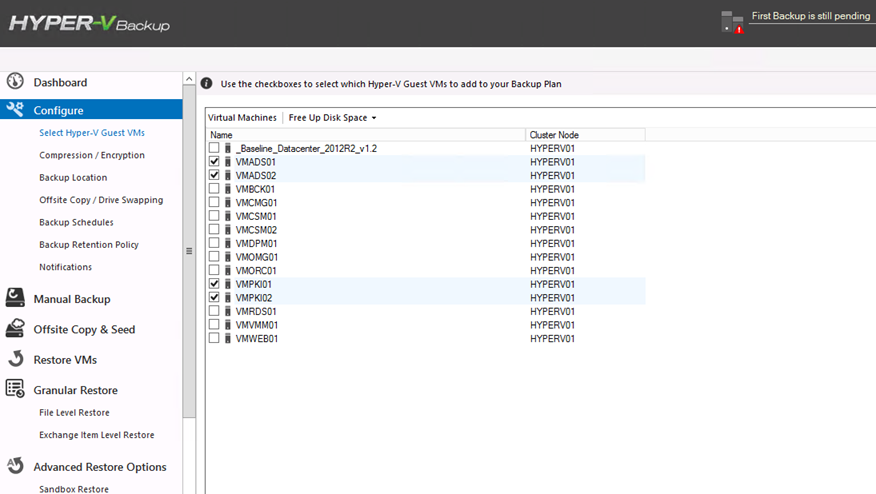
To try Hyper-V Backup, I protect four servers: VMADS01, VMADS02, VMPKI01 and VMPKI02. Two first servers are Domain Controller and the two last are Certificate Services.
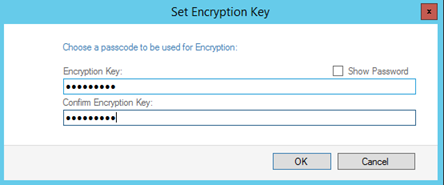
By default, backups are compressed. Because I love the security, I set an encryption key to compress & encrypt backup. So I click on Set Encryption Key:

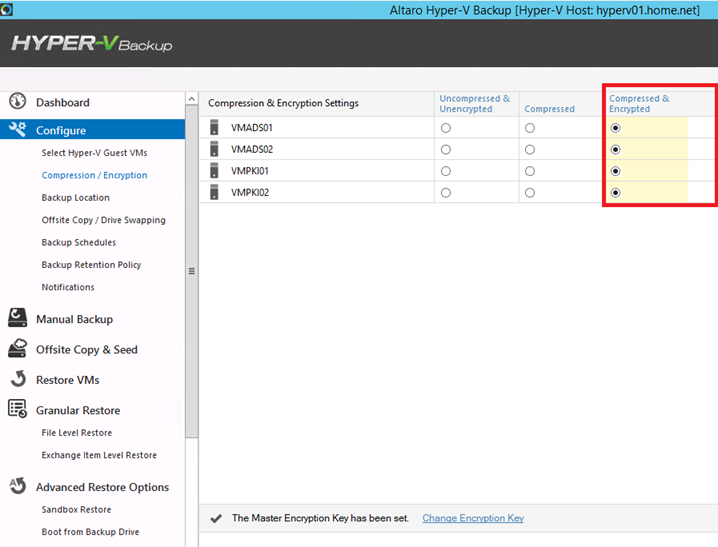
Once the encryption key is set, I select Compressed & Encrypted for each backup.
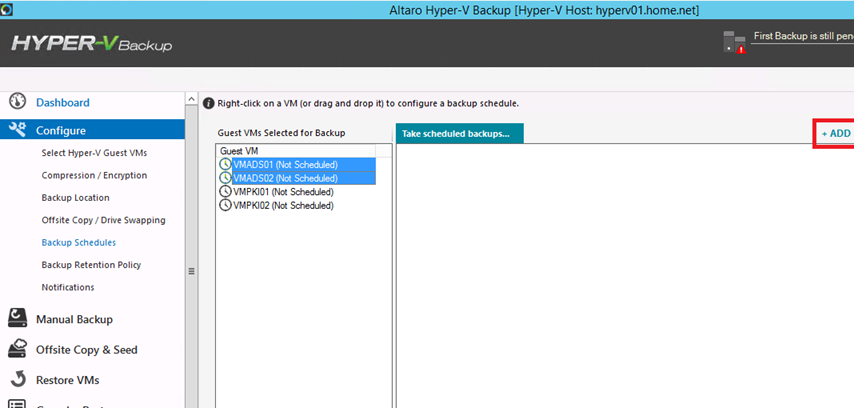
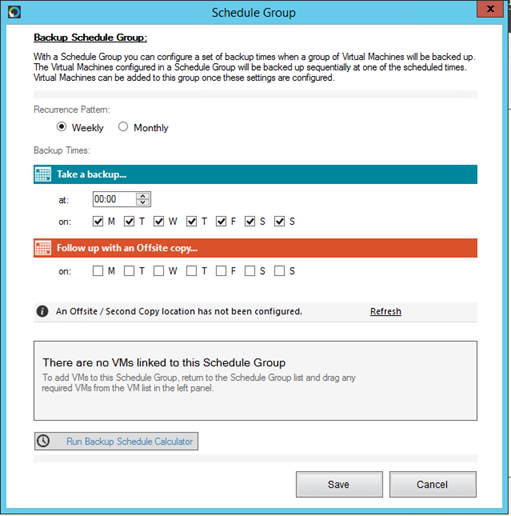
Now I set the backup schedules. First add a Backup Schedule Group by clicking on ADD.
For the first group, I schedule backup every day at midnight.
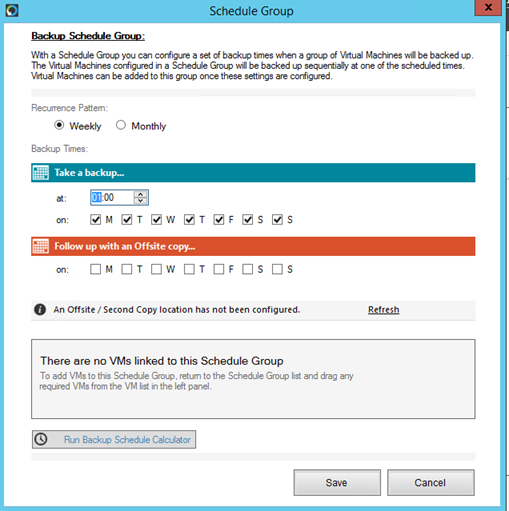
The second group, I schedule backup every day at 01 :00 AM.
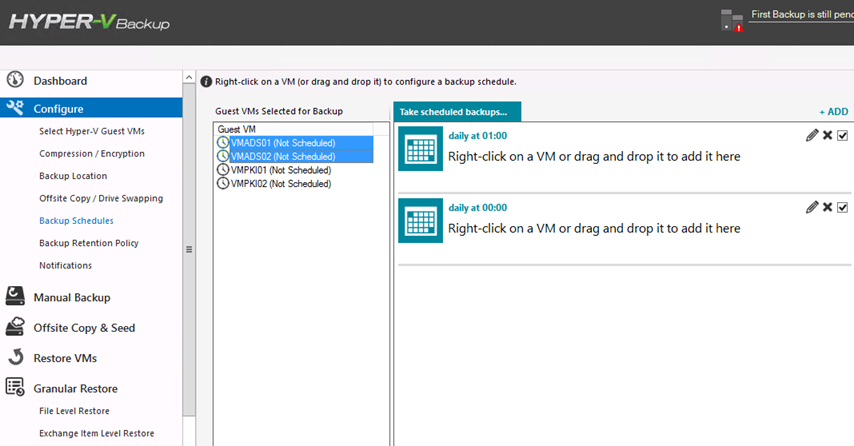
Now you just drag and drop your servers to the backup schedule group.
²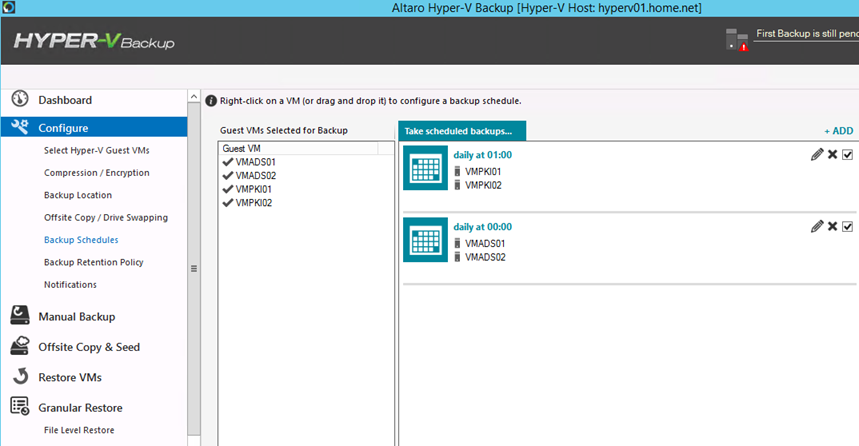
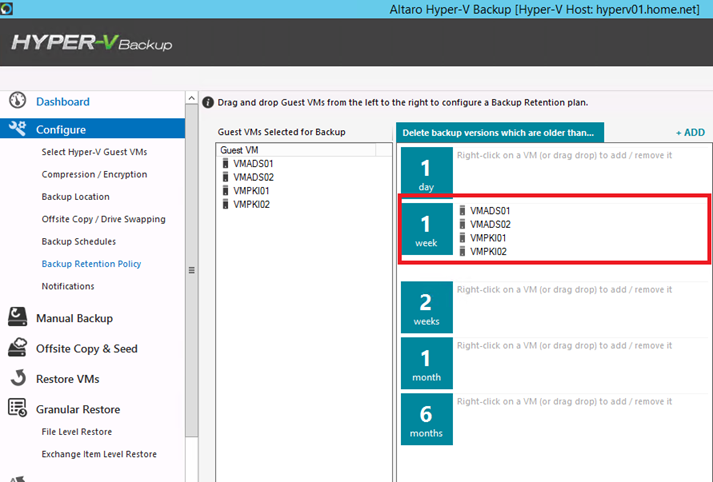
Now I set the backup retention policy. It is the same thing. Just drag and drop your server to the retention policy you want. Below this is the default value and you can add your custom retention policy.
To run manual backup, select the server you want and click backup selected.
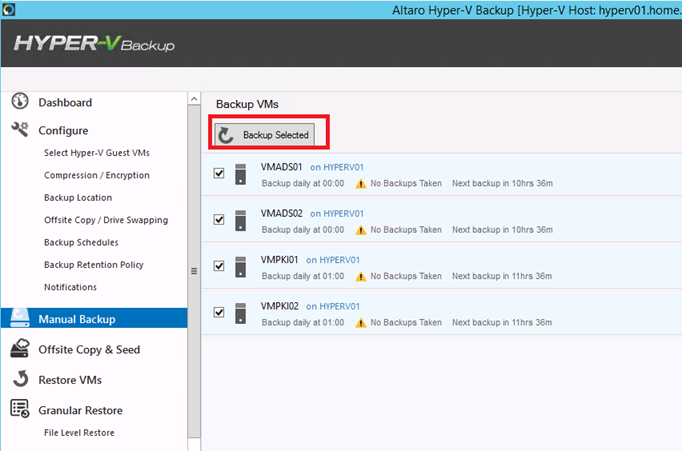
Here we go, the backup process is stating.

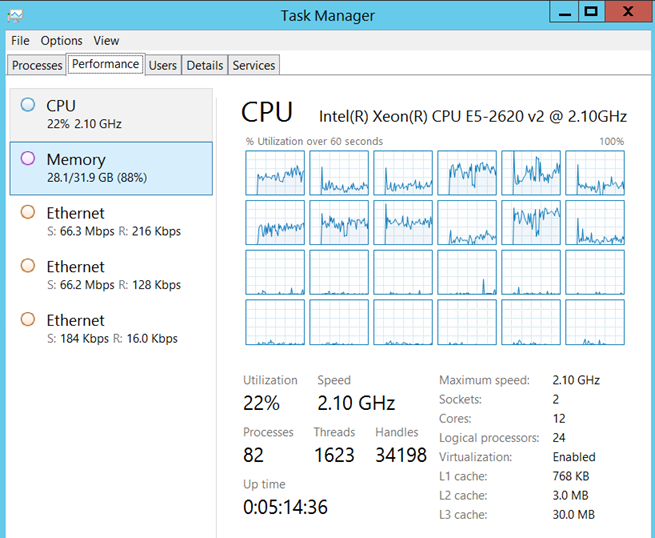
On my personal server, I have two Xeon. It seems that Hyper-V backup use only one.
After that backup process is finished, you have a reporting on the home screen :

Restoration
Manual restoration
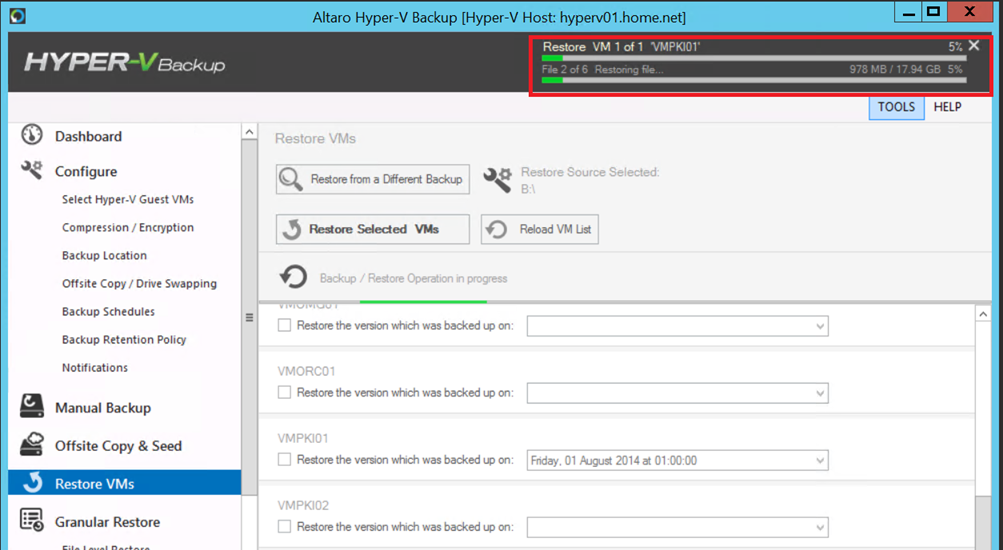
To restore a VM, simply navigate to Restore VMs, select your VM and option as below. Next, just click on Restore Selected VMs.
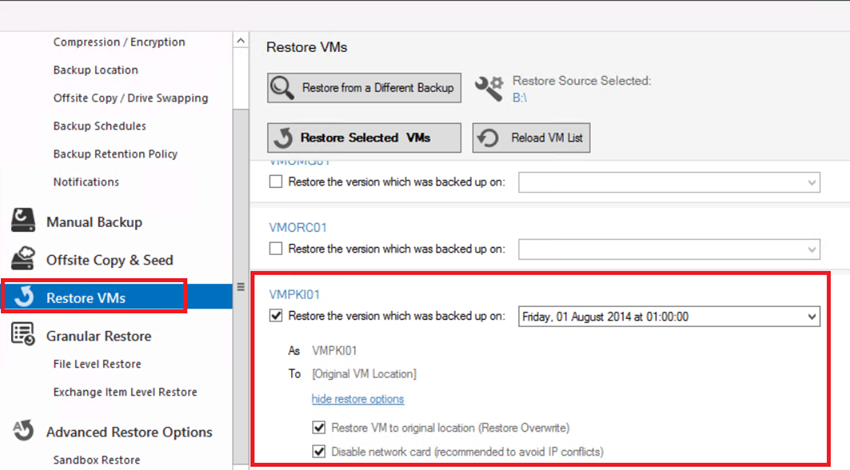
And that’s all! Your VM is restoring.
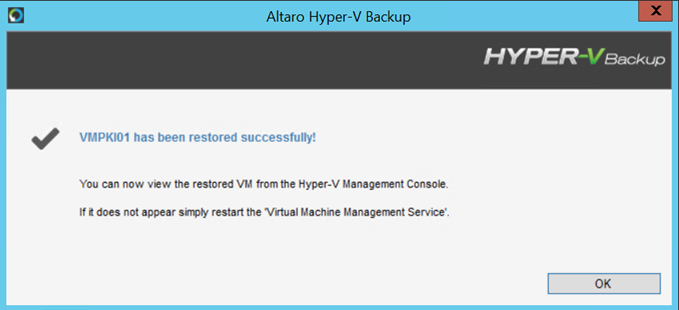
Once the restoration has finished, I have start the VM without issue.
Granular file restoration
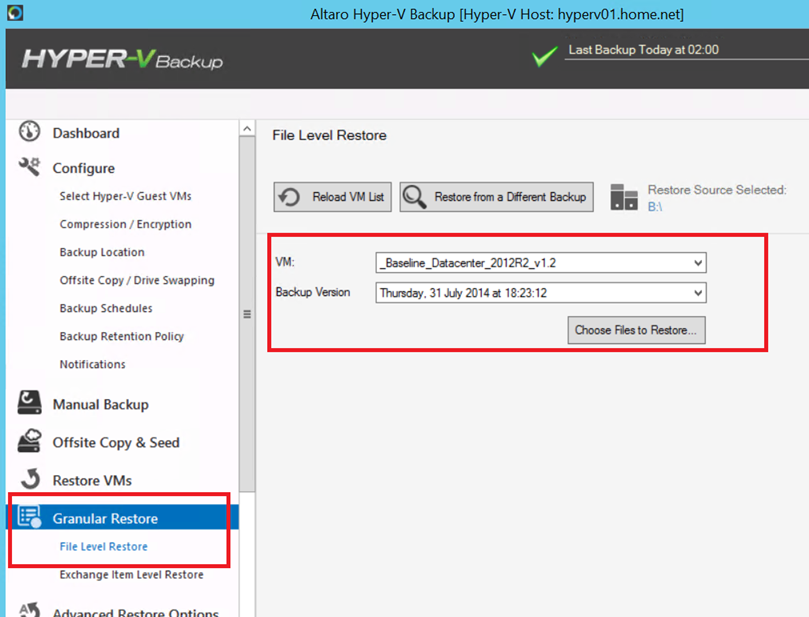
Altaro Hyper-V Backup is able to restore a file in your VM backups. For that, navigate to File Level Restore, and select your VM and the backup version. Next click on Choose Files to Restore.
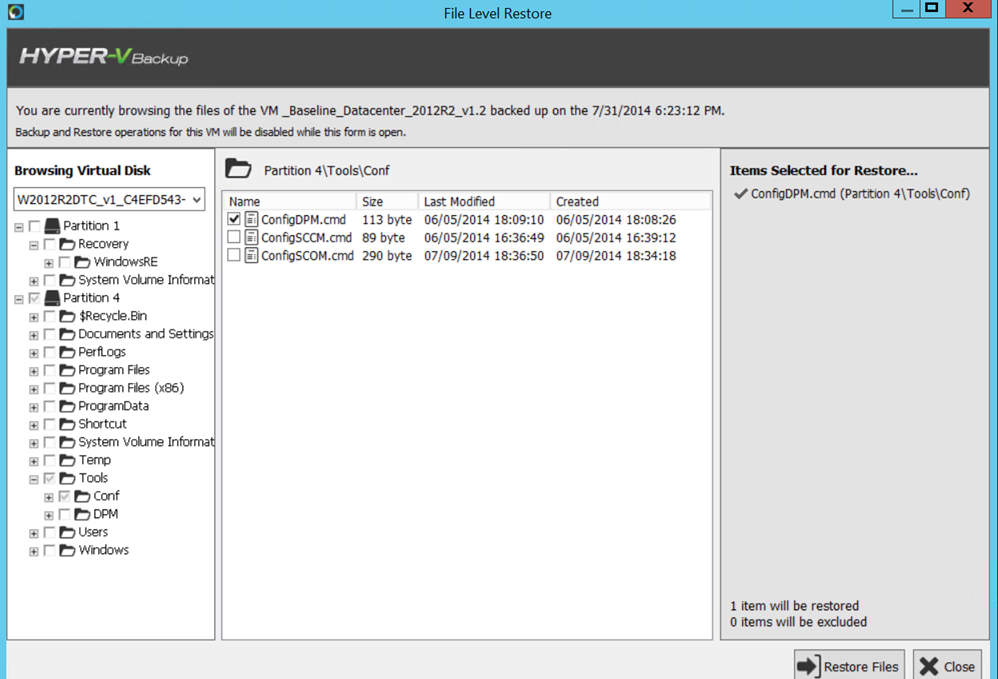
Navigate in the tree and select the file that you want to restore:
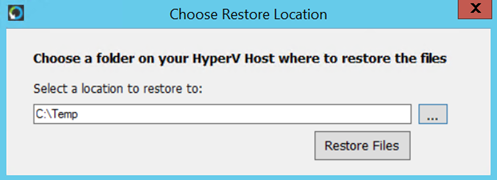
Choose a location to restore your file.
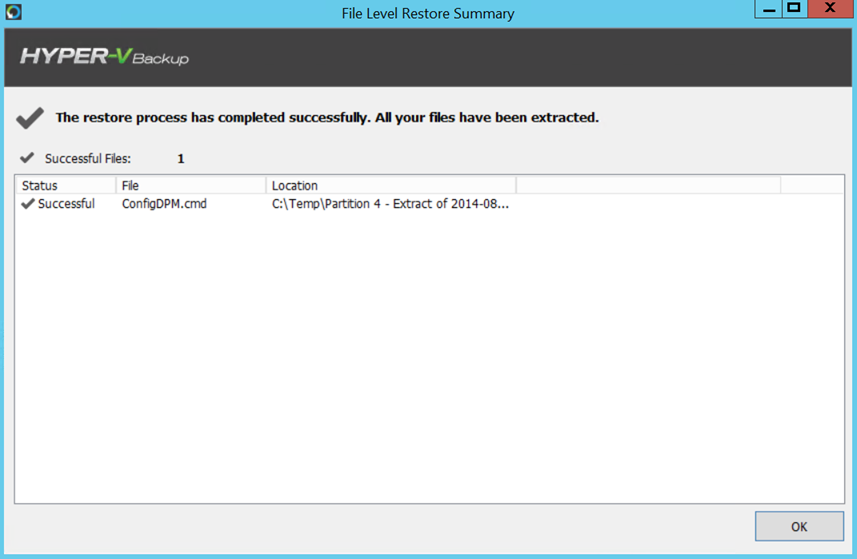
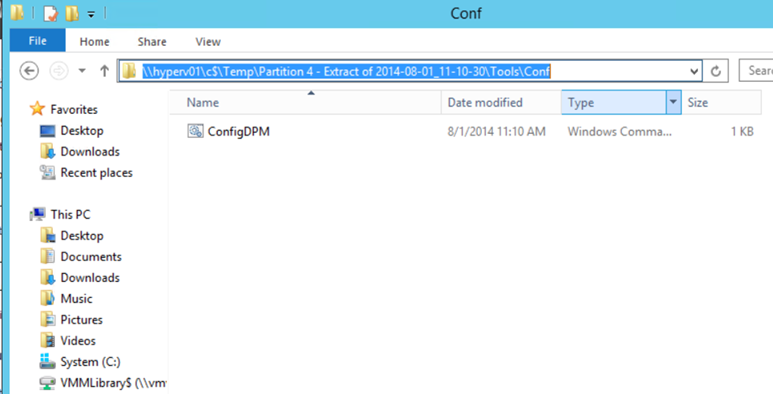
As you can see below, my file is restored:
Boot on backup
With this feature you can boot a VM from a backup drive. A beautiful interface shows you every VM.
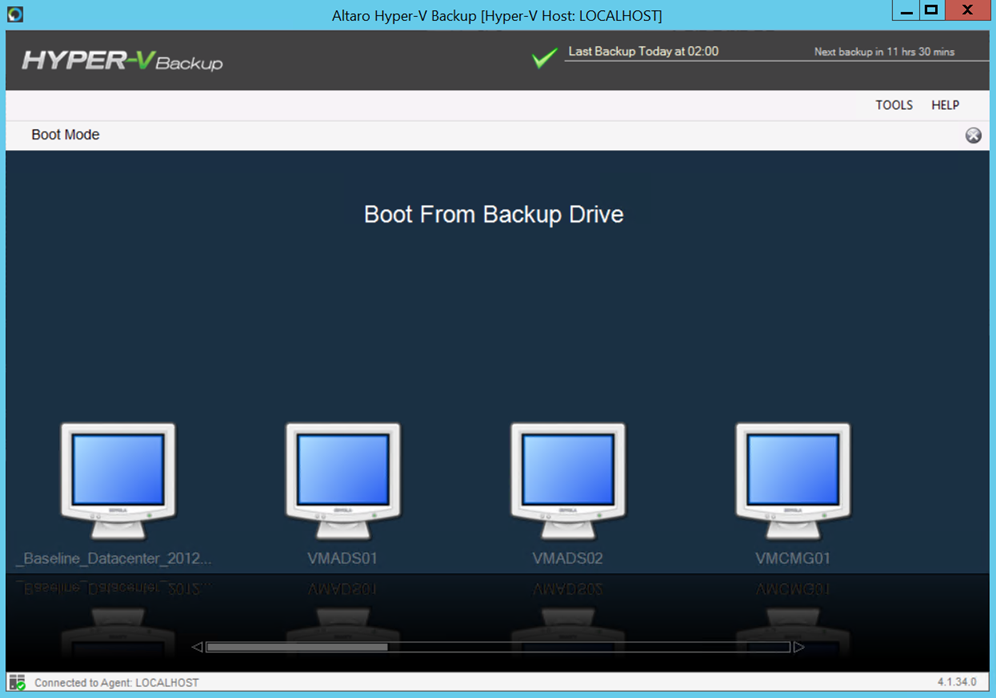
But I’m frustrated because it doesn’t work with compressed and encrypted backup !!! I will try on a next topic J

Conclusion
I was very impressed by Altraro Hyper-V Backup because it is a quick and an easy tool to handle. Moreover the solution is not too expensive because it is 495€ per Hyper-V host for the unlimited edition. There is no database to install and not a lot of prerequisites. For the maintenance, that should be good.
However some features should be improved in my opinion. First of all the Boot on Backup doesn’t support the compressed and encrypted backup. Ok but the solution could purpose to uncompress or/and unencrypt backup. Next it is unfortunate that Altaro Hyper-V backup doesn’t take in charge library tape for long-term backup.
But I like this solution and it is replace Data Protection Manager to backup VMs on my mockup environment. Next step: I want to try the Boot on Backup drive, sandbox restore and the behavior when I restore a Domain Controller.


