Most of the time, when a Virtual Machine (VM) is deployed, there are some manual configuration as IP settings, System Center Agent parameters etc. Most settings can be set automatically but it take some time to prepare a template that enable fast deployment with the minimum of manual tasks. Prepare a good template enable also a reliable deployment because without manual interventions, the risk to make a mistake is reduced. This is why I share with you some tips to prepare a VM template to automate VM deployment as much as possible.
These steps should be followed to prepare a VM template:
- Prepare a standard VHDX
- Add roles and features needed
- Install System Center agents
- Prepare scripts to configure System Center agents
- Sysprep your system
- Have IP Pools to set automatically the network configuration
- Prepare a runas account to join Active Directory
- Prepare an anwser file
- Create the VM Template
Prepare a standard VHDX
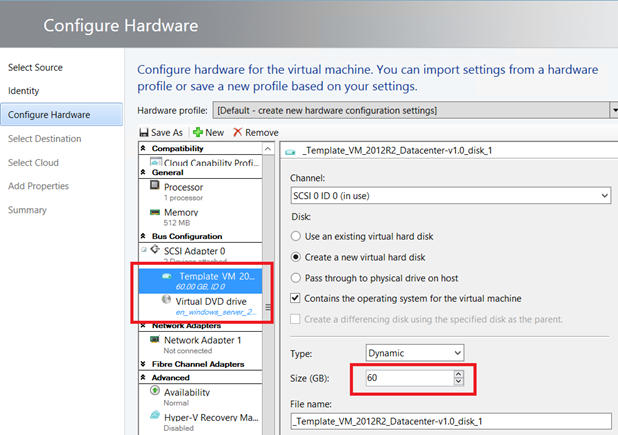
To prepare a VHDX that will be my standard VHDX, first I create a virtual machine from scratch. I call it for example _Template_VM_2012R2_Datacenter-v1.0.
I prepare a system volume of 60 GB. Don’t forget to mount a Windows Server installation ISO. For my example it is a Windows Server 2012 R2 Datacenter ISO.
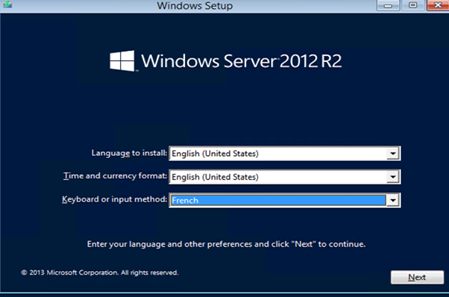
Once your VM is created, start your machine and install Windows Server manually. The product key and the administrator information is not important because they will not be kept after the sysprep process.
Add roles and features
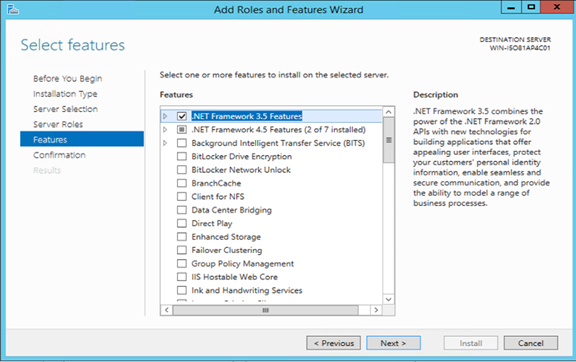
Once your new Windows Server 2012 R2 is running, you can add / remove roles and features. On my baseline, I add at least .NET Framework 3.5 and Windows Server Backup.
Install System Center agents
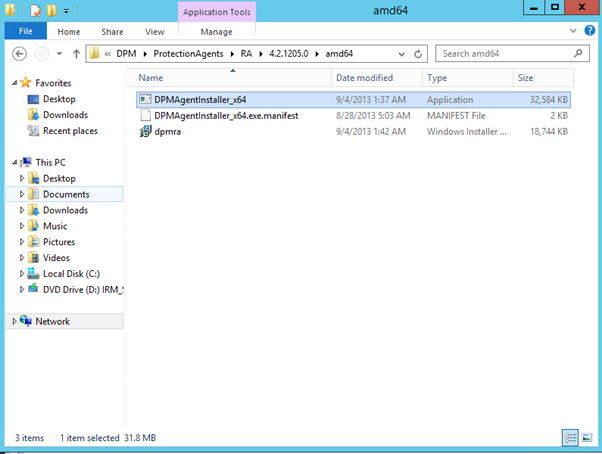
Then you can install your System Center agents as SCCM or DPM. So install these clients without configure it. The configuration will be done by scripts when VMs will be deployed.
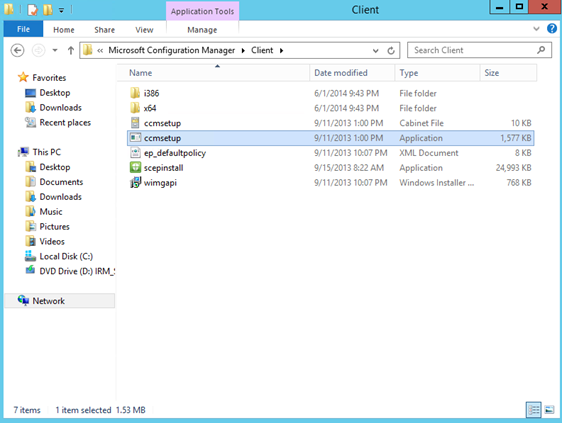
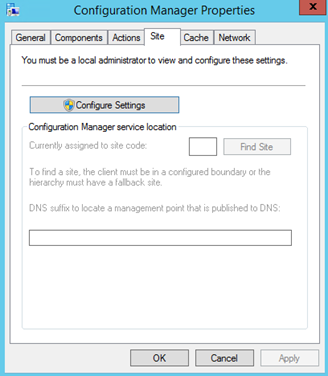
So the SCCM agent is installed but not configured as you can see above. Next I install the DPM agent without configuration as SCCM agent.
Add scripts to your system
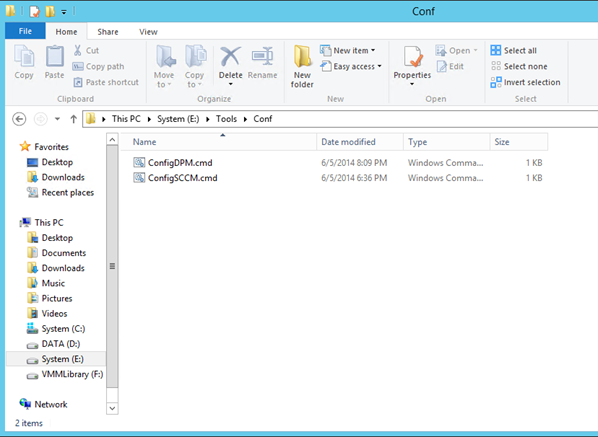
Next I copy my two scripts to configure each System Center agent.
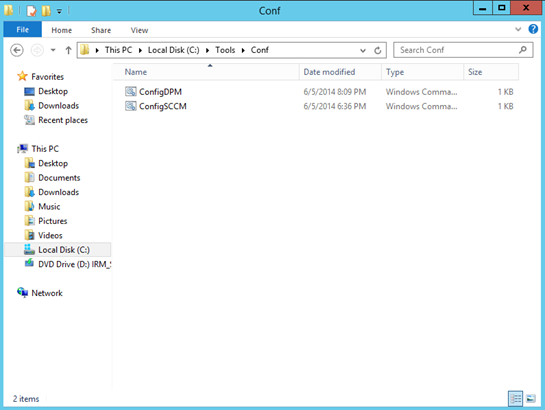
ConfigDPM.cmd:
cd c:\Program Files\Microsoft System Center Data Protection Manager\DPM\Bin
SetDPMServer.exe –DPMServerName vmdpm01.home.net
ConfigSCCM.cmd:
cd c:\Windows\ccmsetup
ccmsetup.exe /mp:VMCMG01.home.net SMSSITECODE=HOM
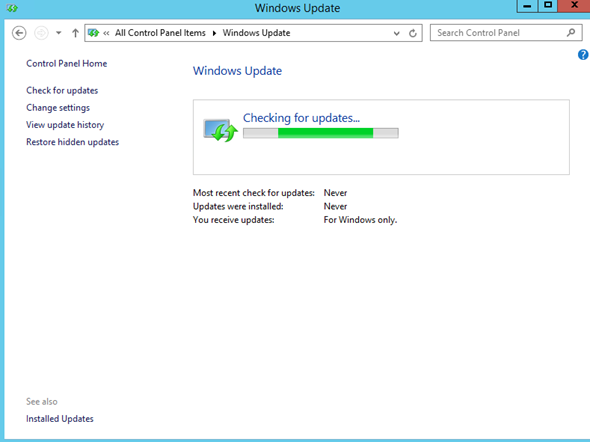
Update your system
Then you can update your system. In this way each VM deployed will be updated.
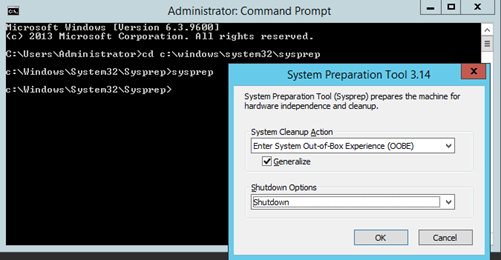
Run the Sysprep process
Once you have finished customizing your system you can sysprep it. Sysprep prepares your system to be an image and in this way to be used in vm template. To launch sysprep, open C:\Windows\System32\Sysprep and run sysprep.exe. Launch the Windows sysprep as below settings:
Once your sysprep is finished, your VM should switch off. Next copy the VHDX of this VM in the VMM library. This VHDX become your standard VHDX. After that you can delete _Template_VM_2012R2_Datacenter-v1.0 virtual machine.
Add Roles and Features on your standard VHDX
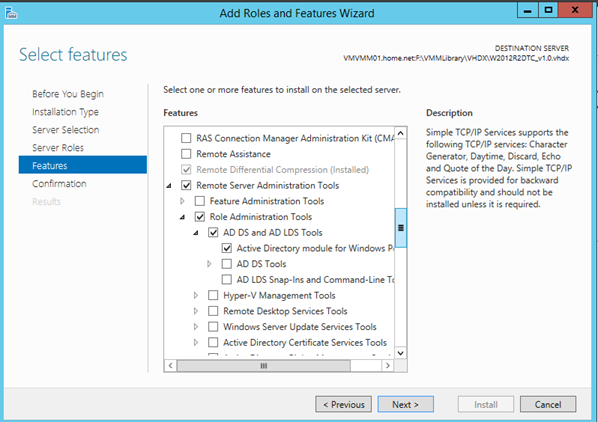
If you have forgotten to add roles or features in your standard VHDX, you can use the Server Manager for that. You have to open the Add Roles and Features Wizard and instead of choosing a server on Destination Server screen, you can choose a VHDX as below:
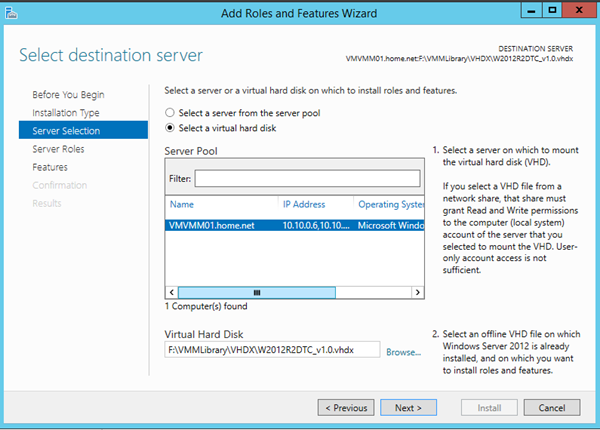
In this example, I add the Active Directory module for Windows Powershell feature in order to install MSA account on my servers.
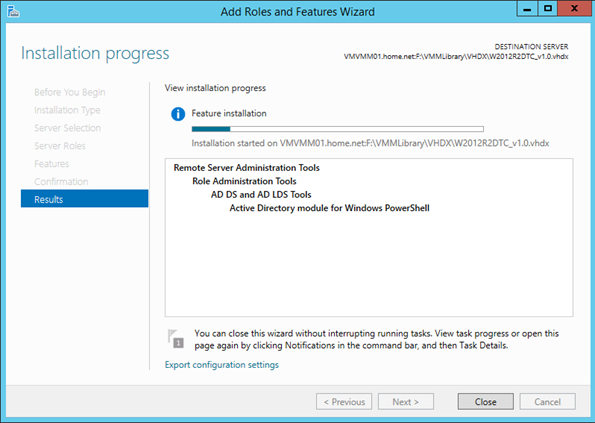
And that’s all. With this technique I can manage roles and features on my standard VHDX without reinstall a virtual machine.
Manage files and folders in VHDX
Now I will manage files or folders on my standard VHDX to add for example scripts or to create a folder. For that, just right click on the VHDX in your VMM Library and click on Mount.
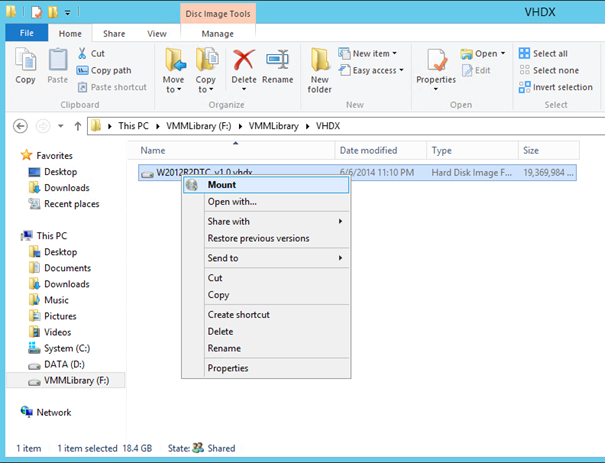
Next navigate your VHDX as others volumes. On the below screenshot, this is the two scripts to configure System Center agents. In this way you can update the scripts without reinstall a Virtual Machine.
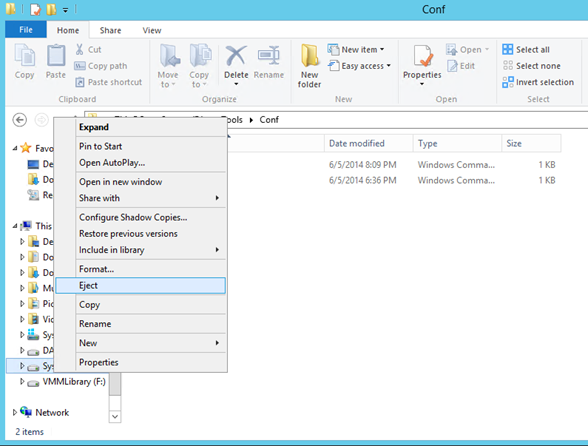
Once you have finished, right click on the volume and click on Eject.
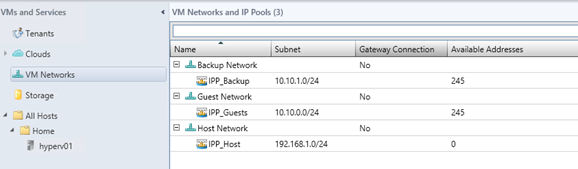
Configure IP Pool
IP Pool is really needed to automate VM deployment because thanks to this feature, IP configuration will be set automatically. For further information, please read this topic.
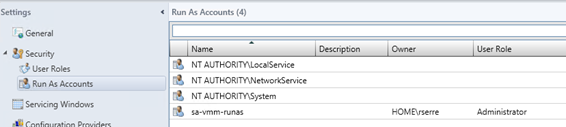
Prepare a RunAs account to join Active Directory
In my VM template, I will add each virtual machine to Active Directory. For more security I use a RunAs account to join the VM to Active Directory. So create a simple user in your Active Directory and add it to Run As Accounts in Virtual Machine Manager.
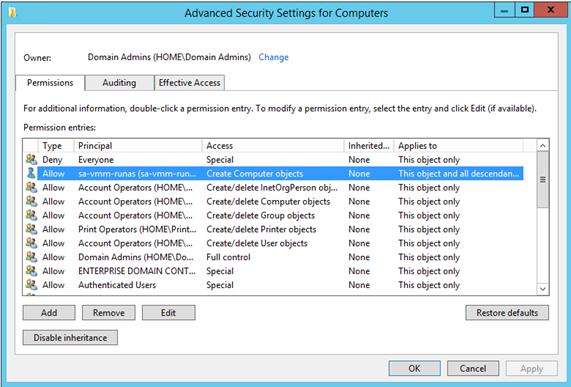
Configure security of the default container where are added the computer objects in Active Directory (by default this is the Computers Container). Edit security of this container to add a permission on your RunAs account. This account must have the permission to create Computer objects as below:
Prepare an answer file
Because I am French my keyboard layout is Azerty. And because I install Windows Server in English, I have to configure language settings when deploying VM otherwise the default keyboard layout will be Qwerty. Moreover in the Generalize part, I disable the Plug And Play (PnP) devices checking to deploy VM faster. VM PnP devices are always the same, so it is not necessary to recheck them.
You can create an anwser file with Windows System Image Manager (SIM).
<?xml version="1.0" encoding="utf-8"?>
<unattend xmlns="urn:schemas-microsoft-com:unattend">
    <settings pass="oobeSystem">
        <component name="Microsoft-Windows-International-Core" processorArchitecture="x86" publicKeyToken="31bf3856ad364e35" language="neutral" versionScope="nonSxS" xmlns:wcm="https://schemas.microsoft.com/WMIConfig/2002/State" xmlns:xsi="https://www.w3.org/2001/XMLSchema-instance">
            <InputLocale>fr-FR;en-US</InputLocale>
            <UserLocale>en-US</UserLocale>
            <UILanguageFallback>en-US</UILanguageFallback>
            <SystemLocale>en-US</SystemLocale>
            <UILanguage>en-US</UILanguage>
        </component>
    </settings>
    <settings pass="generalize">
        <component name="Microsoft-Windows-PnpSysprep" processorArchitecture="amd64" publicKeyToken="31bf3856ad364e35" language="neutral" versionScope="nonSxS" xmlns:wcm="https://schemas.microsoft.com/WMIConfig/2002/State" xmlns:xsi="https://www.w3.org/2001/XMLSchema-instance">
            <PersistAllDeviceInstalls>true</PersistAllDeviceInstalls>
        </component>
    </settings>
</unattend>
Create the VM Template
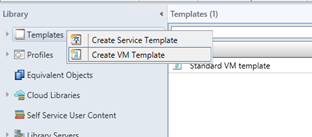
Next step is the VM template creation. For that, open Virtual Machine Manager Library. Right click on the template and select Create VM Template.
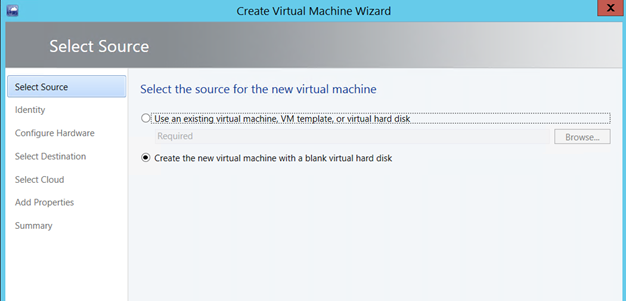
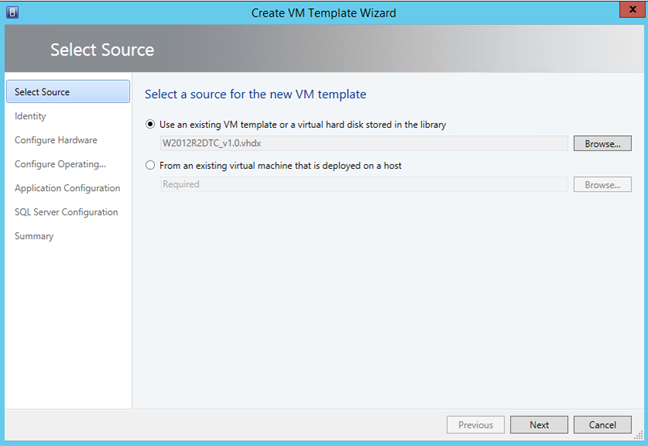
On the first screen, select Use an existing VM template or a virtual hard disk stored in the library. Next browse your VMM library and select your standard VHDX.
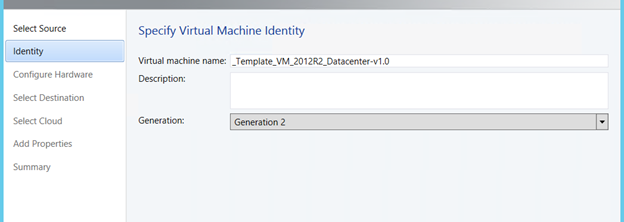
On Identity screen, enter a VM template name and if you can, choose Generation 2.

On Configure Hardware, configure the processor and memory as you need. On my side, I create always a VM with two processors and the below memory value:
- Startup memory: 2048Mo
- Minimum memory: 1024Mo
- Maximum memory: 4096Mo
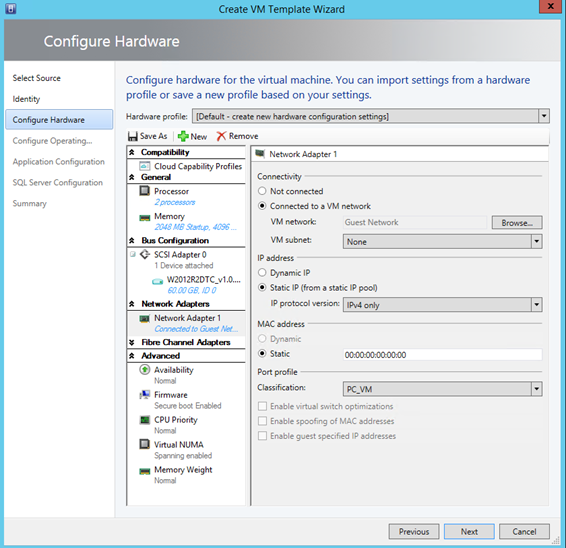
Next configure network adapter to use your VM network and VM subnet to set IP Address on Static IP (from a static IP Pool) as below:
Next you can configure the operating system as Admin Password or Product Key. If you use a Windows Server 2012 R2 datacenter on your Hyper-V hosts, you can use AVMA key (Automatic Virtual Machine Activation). These keys are public.
|
Edition |
AVMA key |
|
Datacenter |
Y4TGP-NPTV9-HTC2H-7MGQ3-DV4TW |
|
Standard |
DBGBW-NPF86-BJVTX-K3WKJ-MTB6V |
|
Essentials |
K2XGM-NMBT3-2R6Q8-WF2FK-P36R2 |
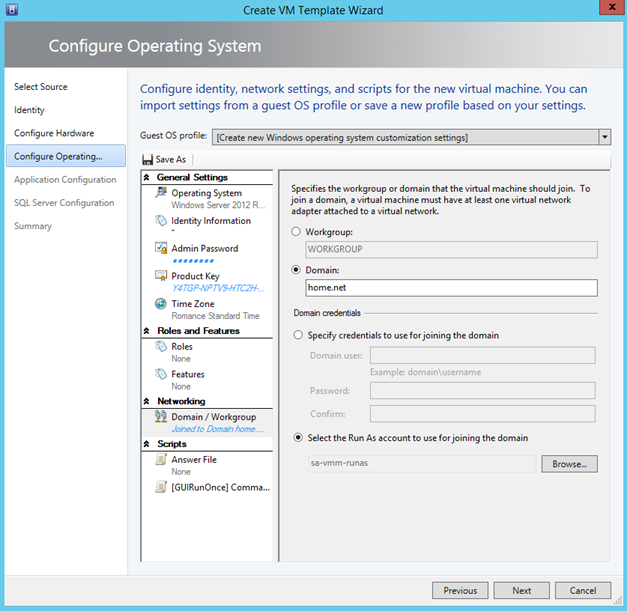
Next I configure the Domain / Workgroup part. I set to join the domain with the RunAs account:
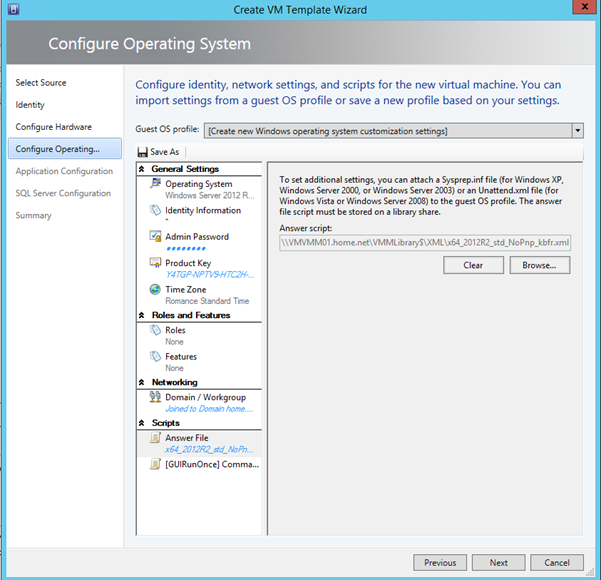
Then I add my anwser file to my VM Template:
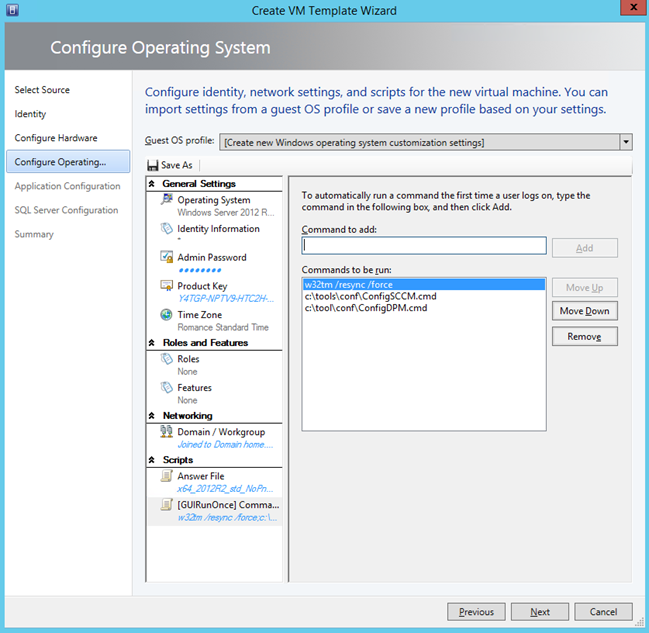
And to finish, I add Run Once command. These commands run on the first log on. I add a command to resynchronize the time and to launch my two scripts to configure System Center agents.
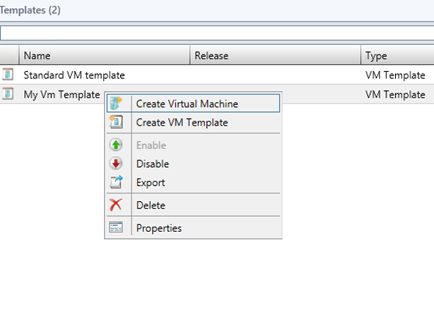
Create a VM from template
Once your VM template is ready, just right click on your template and select Create Virtual Machine. Just follow the step and a few times after, your VM should be ready and automatically added to Active Directory and the IP configuration should be set. Moreover in your SCCM, you should see your new machine marked as active.
About SCCM
Thanks to SCCM, you can deploy and update applications on your servers. For example you can deploy your Antivirus software by SCCM and update it by SCCM instead of the antivirus console. Except for System Center agent, I recommend you to deploy software after the VM deployment. Some software as Antivirus generate a unique ID on installation. So if it is installed before sysprep, all your system will have the same ID which will cause conflict.
To automate software installation when a VM is deployed, you can use System Discovery method and dynamic collection in SCCM.
About GPO
GPO (Group Policy Object) enables to set many parameters of Windows as Security Settings, Internet Explorer, Services state etc. Thanks to GPO lot of settings can be managed centrally. Moreover, since Windows Server 2008, Microsoft introduces Group Policy Preferences (GPP) that enables to manage for example local groups.
To centralize management, I recommend you to minimize the customization in the VHDX itself and use GPO or GPP. In this way it is easier to modify a specific setting on all your servers.