
When Virtual Machine Manager is used, it is the management point of your virtual infrastructure. So VMM is a critical component and usually needs to be implemented in high availability. Moreover when the Windows Azure Pack is used in production, Virtual Machine Manager must be installed in high availability in order to your tenants have almost always access to their VM management.
Design VMM highly available
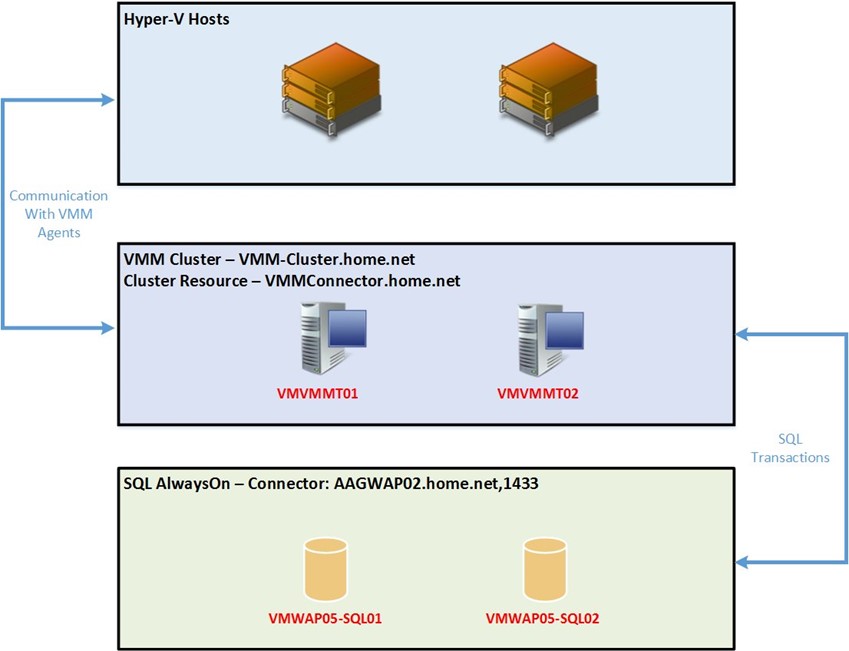
To be installed in high availability, VMM uses the Failover Clustering Windows feature. One node is active while the other is passive. If the active node is down, the passive node becomes active. No shared volume is needed in the cluster except if you use a witness disk. VMM binaries are installed on each machine. The VMM configuration is stored in the database and the encryption key is stored in Active Directory.
To avoid a single point of failure, the SQL database should be also highly available. I recommend you the AlwaysOn solution described by my friend Gilles Monville in this topic.
So in the below example, the VMM connection point is VMMConnector.home.net and the SQL connection point is AAGWAP02.home.net. From the Hyper-V host’s side, the VMM cluster is seen as a single VMM.
Implement VMM highly available
Install SQL AlwaysOn Availability group
The first thing to do to install VMM in high availability is to prepare the database. I’m not going to talk about that in this topic. However you can read this article to help you to install your SQL AlwaysOn Availability Group.
Install VMM prerequisites on VMM nodes
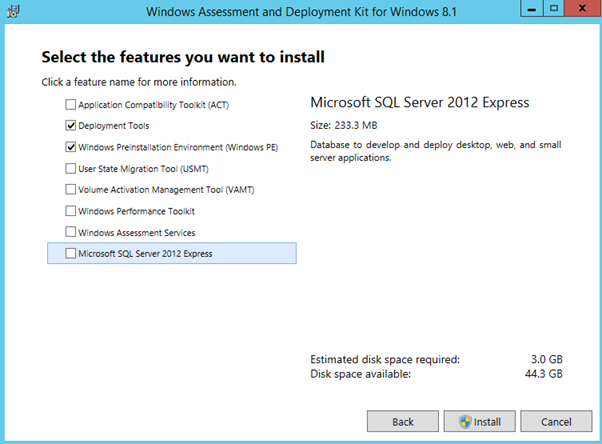
Next, on each node, we have to install VMM prerequisites. For that you need to download Windows Assessment and Deployment Kit for Windows 8.1. You have to install:
-
Deployment Tools
-
Windows Preinstallation Environment (Windows PE)
Next, we are going to install the Failover Clustering feature:
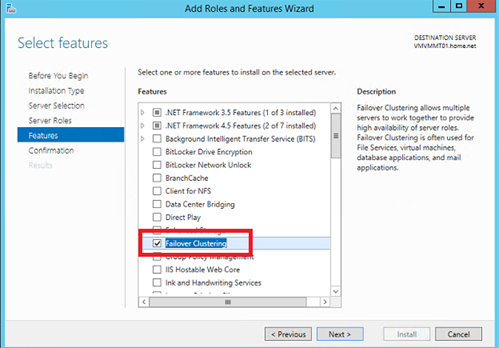
Install-WindowsFeature Failover-Clustering
Create the failover cluster
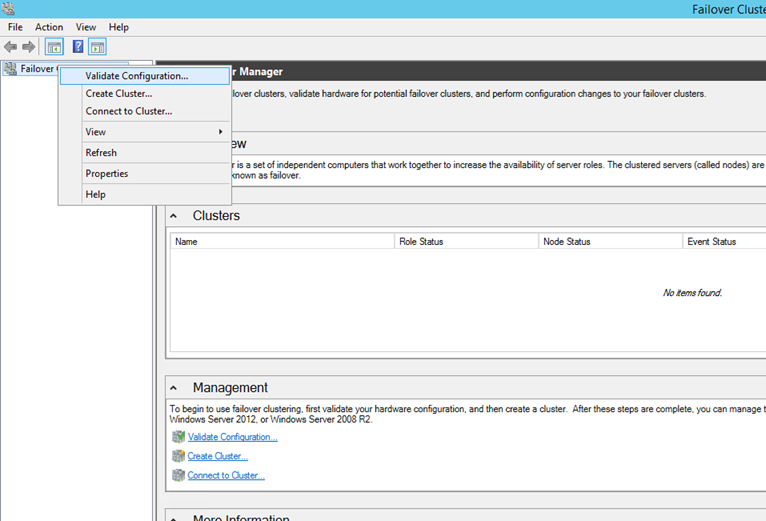
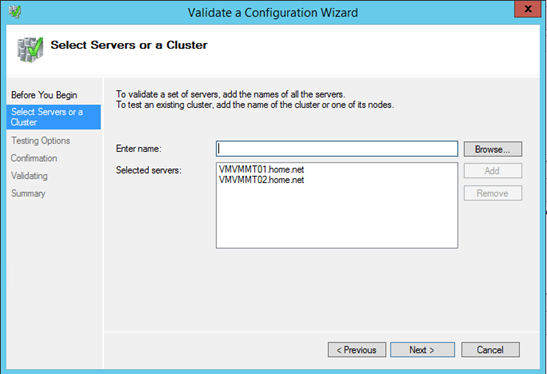
Open the failover clustering console and select Validate Configuration as below:
Add the nodes that will be part of your cluster. On my side I have added two below servers:
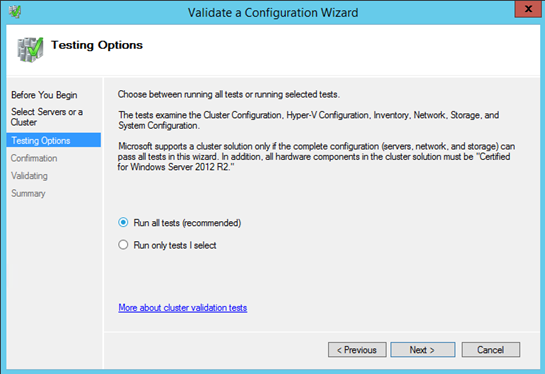
Select Run all tests and click next.
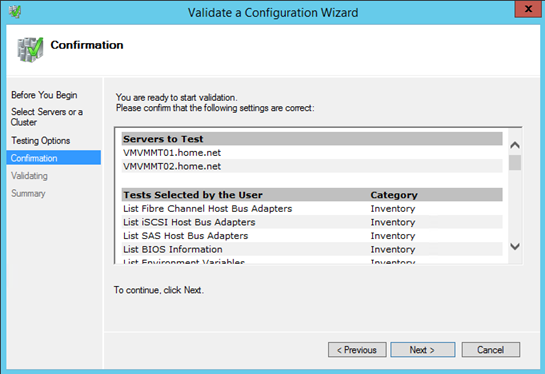
To run the validation of the configuration, click on next.
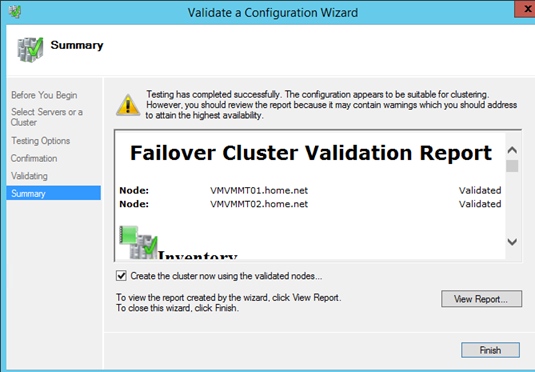
I have some warning because there is not eligible storage for my cluster. For my example I do not use a witness because I use the dynamic quorum. Click on finish to create the cluster.
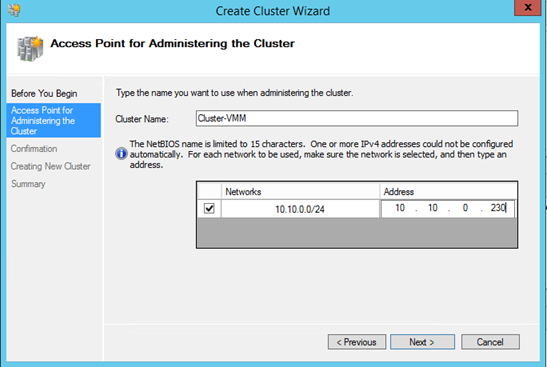
Specify a Cluster Name and type an IP Address. Then click on next.
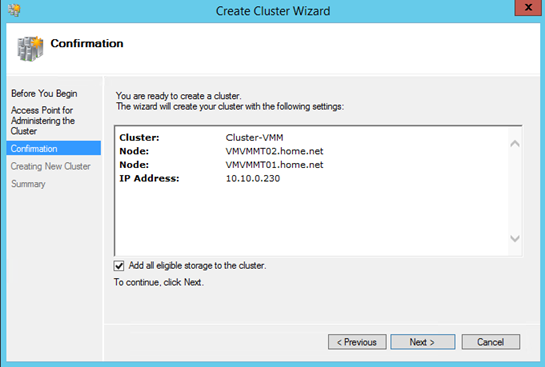
Click on Next to confirm settings and create the cluster.
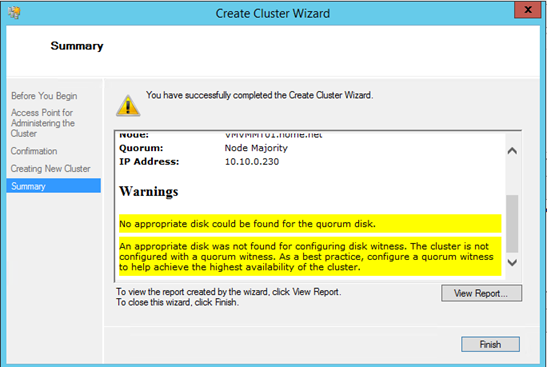
As I said before, I have no eligible storage so no witness disk will be created.
Configure Active Directory objects
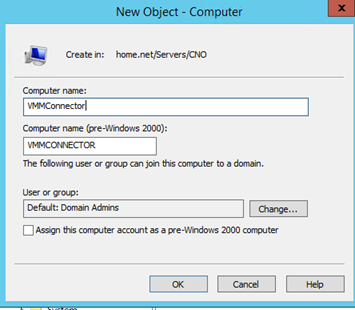
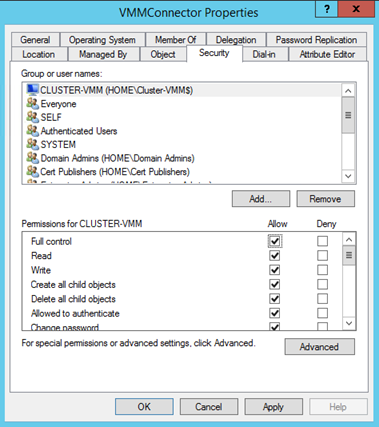
Now I pre-create Active Directory objects for the VMM cluster role. VMMConnector is the name of the VMM role in the cluster. So open dsa.msc and create a computer object as below:
Then add a full control permission to the above object. The trustee has to be the cluster account.
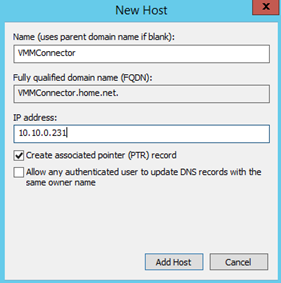
Now open the DNS console (dnsmgmt.msc) and add an A record as below:
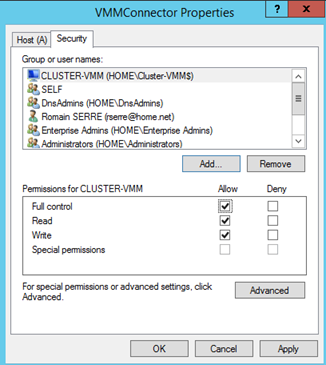
To finish add full control permission to the cluster account:
Install VMM on the first node
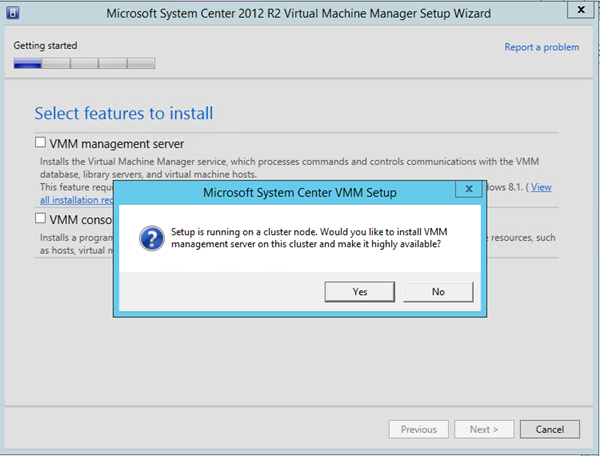
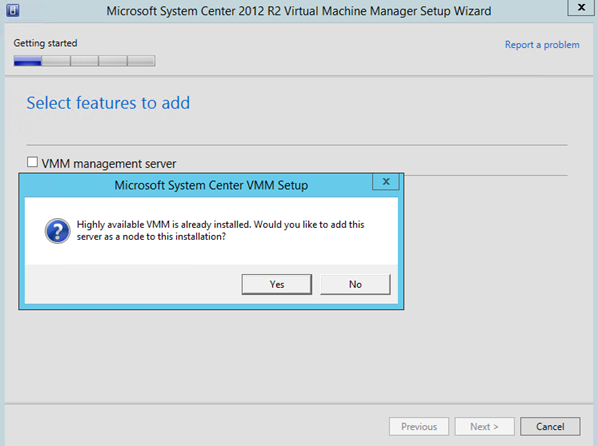
Now all is ready to install VMM on the first node. Mount Virtual Machine Manager media to your server and run the installation. Once you select the VMM management server feature, you should have the below message. Click on yes.
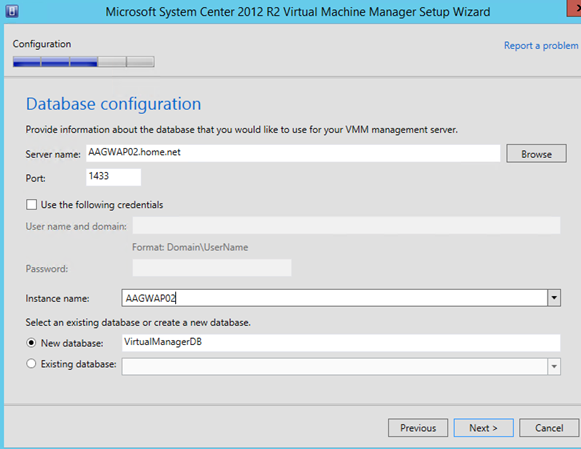
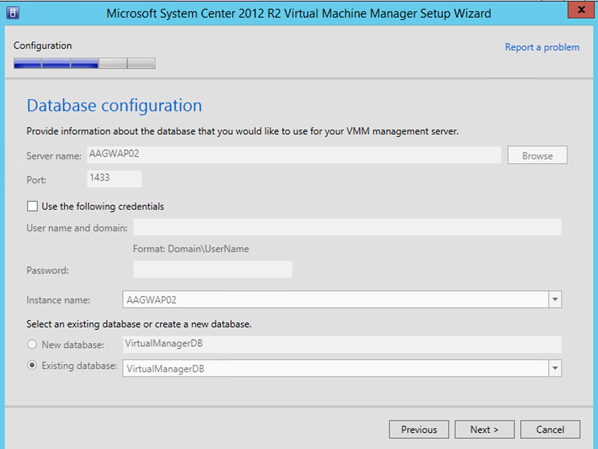
On database screen, specify information about your SQL Server. Click on next.
Next type the VMM role name and its IP address. It should be the same information that you have set in the previous part.

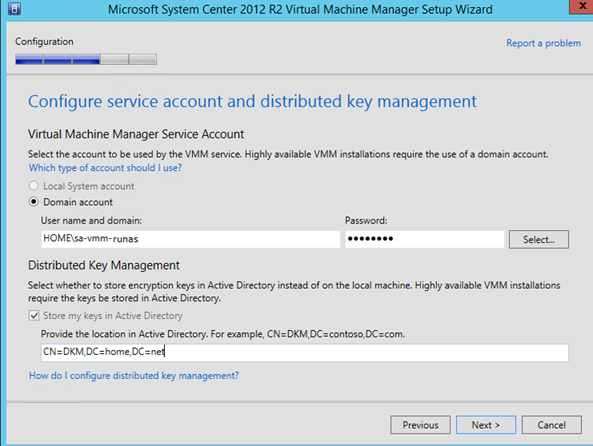
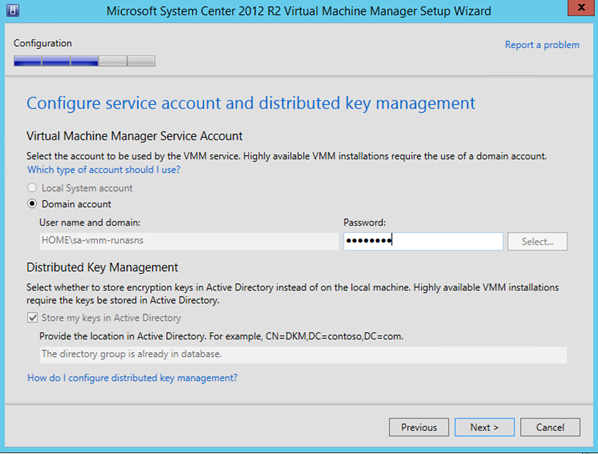
When VMM in installed in high availability, you have to use a domain account as a service account. The encryption key has to be stored in Active Directory.
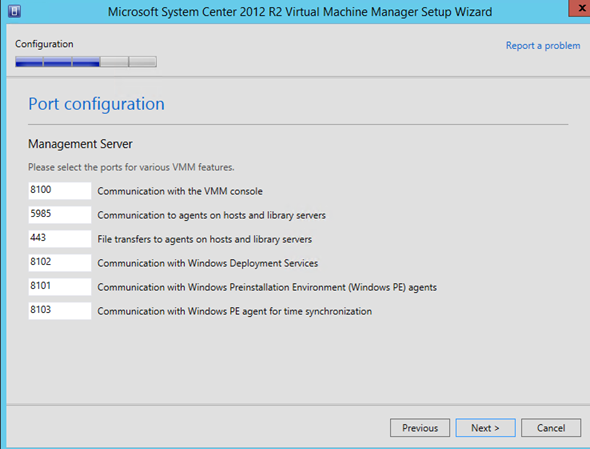
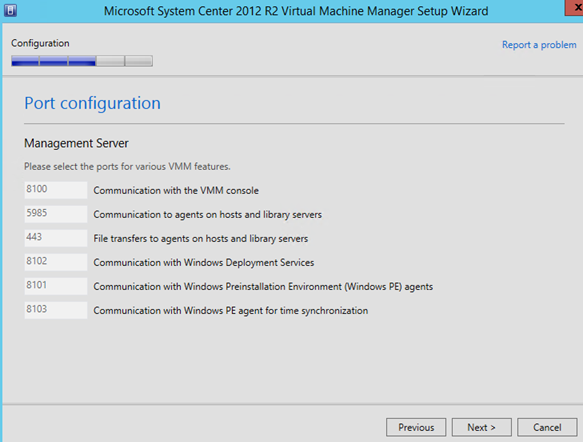
Choose your port configuration and click on next.
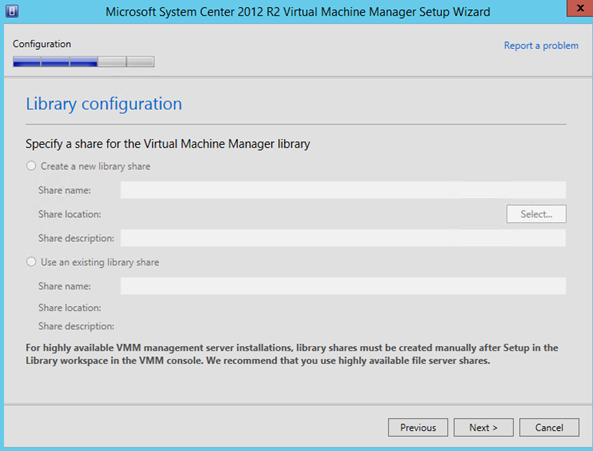
When VMM is installed in High availability, the library has to be created manually later.
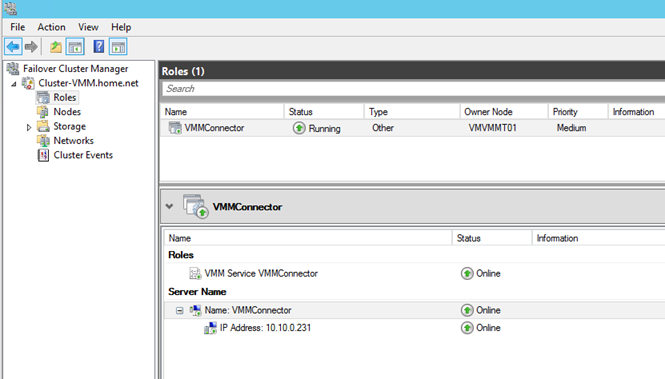
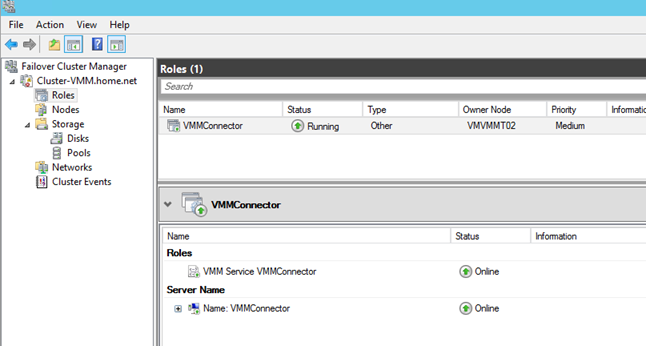
Once the installation is finished, you can see the VMM role in the cluster and the IP address associated:
Install VMM on a second node
Now we can add an additional VMM node. For that connects to the second node and mount Virtual Machine Manager 2012 R2 media. Run the installation. As the first node, when you click on the VMM management server feature, you should have the below message. Click on next.
On the database configuration screen, all fields should be grey-out. It is because the configuration is collected from the first node.
As database configuration, all is grey out. Specify the account password and click next.
Port are also in read-only mode. Click on Next.
As the first node, you can’t create the library now. You have to create the library manually later.

Checking
First thing to check is the failover of the VMM service from the first node to the second node:
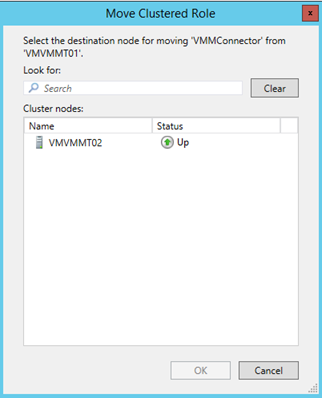
So everything works fine on the cluster side.
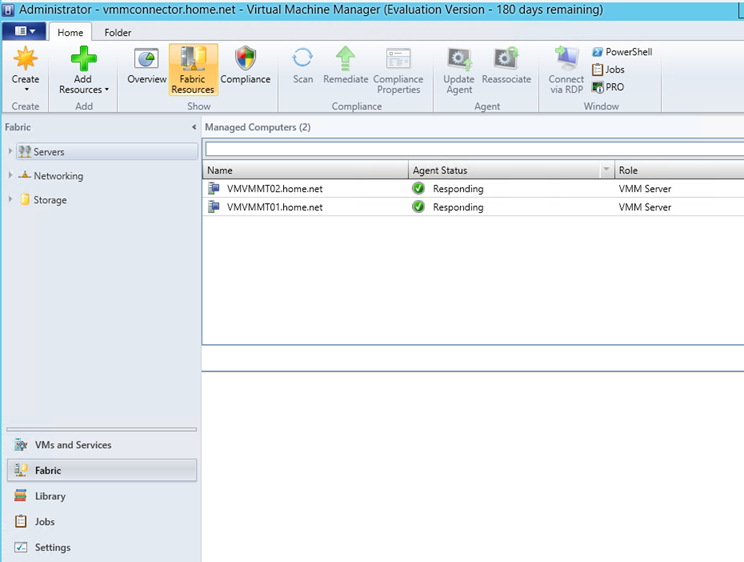
Next open the Virtual Machine Manager console and specify the VMM connector point instead of the server name:
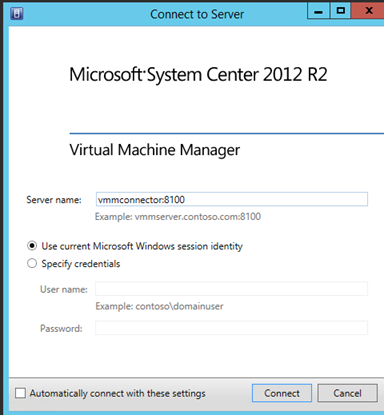
If you open the fabric, and navigate to the servers you should see your two VMM server J
If you use a SQL AlwaysOn, don’t forget to integrate the VMM database in the AlwaysOn Availability group J.


I need to really appreciate this great document. Thanks.
I have already done this project 2 months ago. I have added the Hyper-V hosts and VMs to the VMM mgmt server.
Now we are planning for the deployment of App Controller 2012 R2.
Therefore, I have to perform following actions before starting with App Controller 2012 R2:
– Create the VMM Library share
– Configure/Create Private Cloud in VMM
– Delegate user roles to the cloud
– Designate a writeable file share for each user role
– Create service templates in VMM
Please help me and provide some documents for successfully doing the above tasks.
THank you in anticipation.
Hi Hasan,
Thank you for your comment :). You can read this whitepaper that I have written to create VMM library share and Cloud: https://gallery.technet.microsoft.com/Implement-a-highly-4ba56f20
Regarding the other subjects you have to read the TechNet documentation:
– https://technet.microsoft.com/en-us/library/gg696971.aspx
– https://technet.microsoft.com/en-us/library/gg650474.aspx
Regards,
Romain.