
Azure Site Recovery is a Microsoft Azure feature that enables you to replicate virtual machines (VM) from one site to another and orchestrate the failover in case of disaster. It is a great tool to implement a Disaster Recovery Plan (DRP) for your Hyper-V or VMware VM or for physical machines.
There are several scenarios available with Azure Site Recovery to protect your workloads. The two first regards the use of two On-Premises datacenters:

In the first scenario, you have two On-Premises sites where Hyper-V hosts and Virtual Machine Manager are deployed. Virtual Machines are replicated between both sides with Hyper-V Replica or SAN array replication. Health replication monitoring and orchestration management are located in an Azure Site Recovery vault in Microsoft Azure. On the VMware side, the InMage Scout has to be downloaded and deployed on both datacenters. Then you will be able to protect your servers.
The three others scenarios regard the use of Microsoft Azure as DRP site:

In the first scenario you have Hyper-V Hosts and Virtual Machine Manager. In this scenario an agent will be deployed on VMM server and on Hyper-V Hosts. Then Azure Site Recovery will protect VM in VMM clouds. The second scenario is the same without using of Virtual Machine Manager. An agent is deployed on Hyper-V hosts and the VMs are protected and replicated in Microsoft Azure. To finish, Azure Site Recovery supports to protect VMware VM and/or physical server in Microsoft Azure. It can also be a great way to migrate your VMware VM or your physical server to Hyper-V VM J
In this topic, I will present you the scenario where you use Microsoft Azure as DRP site and where you have deployed Hyper-V and Virtual Machine Manager On-Premises.
Common Azure Site Recovery scenario
Usually your applications leverage some other services as SQL Server for the databases or Active Directory for the authentication. These services have some built-in replication process to support the High Availability. So instead of using Azure Site Recovery to protect these services, we can use their replication process. So for the Active Directory case, we will deploy VM in Azure. These VM will execute domain controllers. It will be necessary to create an Active Directory Site for domain controllers in Azure and create a replication link to manage the weight.
On SQL Side, we will deploy VM in Azure where SQL Server will be deployed. Then an asynchronous replication will be set between SQL Server On-Prem and SQL Server in Microsoft Azure.
Then the VMs in application tier will be replicated with Azure Site Recovery. When a disaster will occur, only servers in application tier will failover to Microsoft Azure.

Requirements
To use Microsoft Azure as DRP site with Virtual Machine Manager you need:
- Virtual Machine Manager 2012 R2 with at least Update Rollup 5
- Hyper-V hosts under Windows Server 2012 R2
- The protected VM must be supported in Microsoft Azure
- A Microsoft Azure Account
- An Azure Site Recovery vault
- A virtual Network in the same region as the Azure Site Recovery Vault
- A Storage Account Geo-Redundant in the same region as the Azure Site Recovery Vault
Deploy requirements in Microsoft Azure
Virtual Network configuration
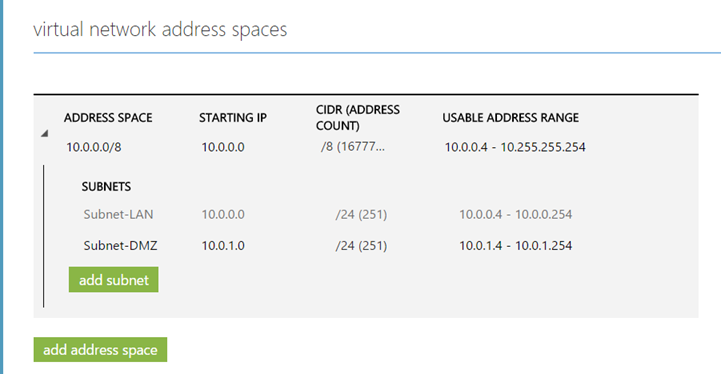
I have created a virtual network in Central US called POC-ASR-Exakis.
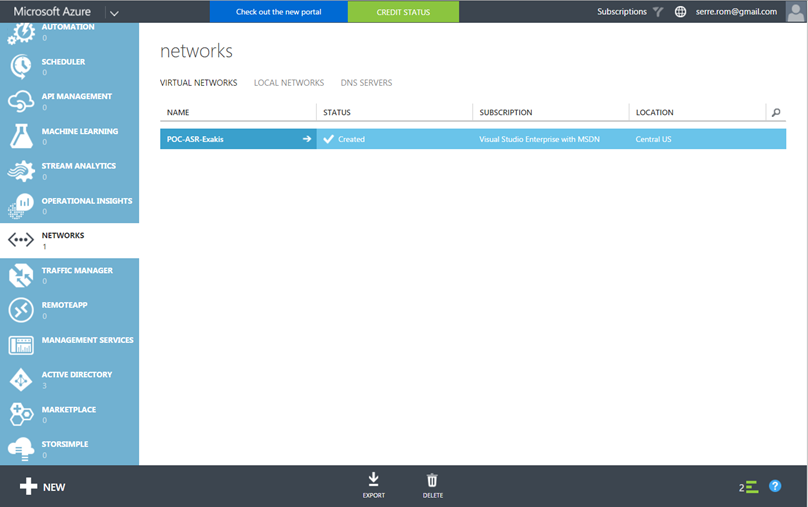
This virtual network contains two subnets called Subnet-LAN and Subnet-DMZ.
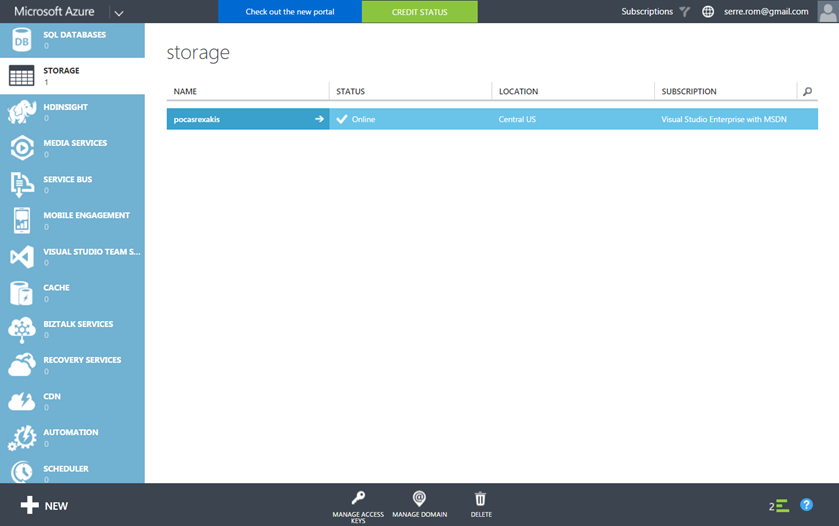
Storage Account creation
Then I have created a Geo-Redundant storage account called pocasrexakis in Central US.
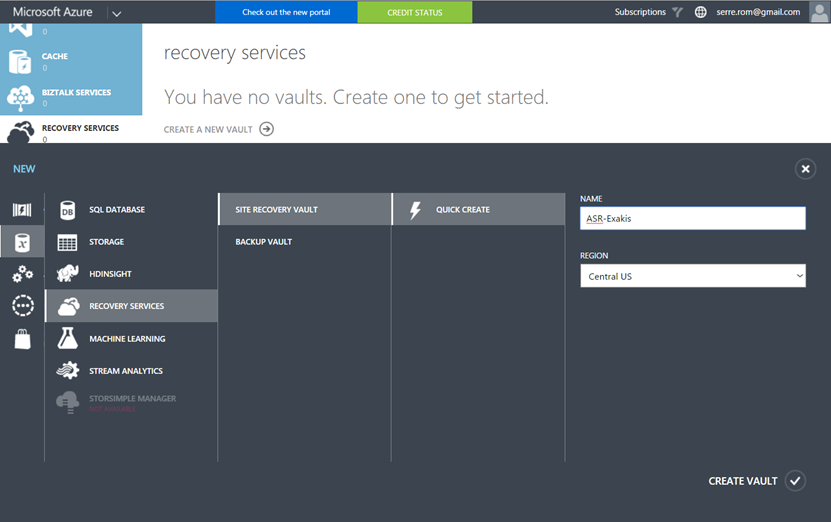
Azure Site Recovery vault creation
Next I navigate to Recovery Services to create a new vault. Then I select Site Recovery Vault and I specify ASR-Exakis as name. Then I choose Central US location.
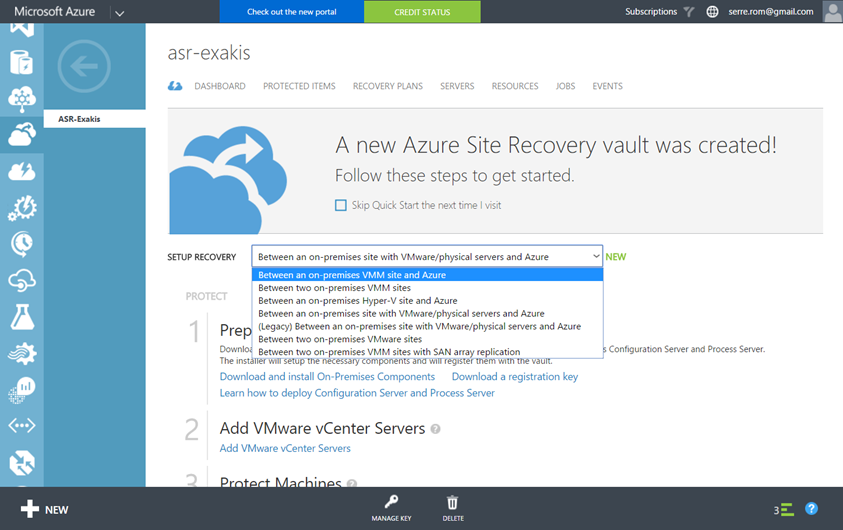
Once the Site Recovery Vault, I choose the scenario that I want to implement. So I choose Between an on-premises VMM site and Azure.
First of all, we need to prepare VMM server. Download the registration key and the Microsoft Azure Site Recovery Provider for installation on VMM server.

On-Premises configuration
Now that the Site Recovery vault is created, we have to deploy agent in VMM server and in Hyper-V hosts.
Prepare VMM servers
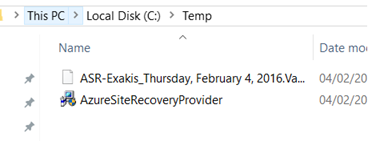
Once you have downloaded the registration key and the ASR provider binaries, you should have both files in your VMM server.
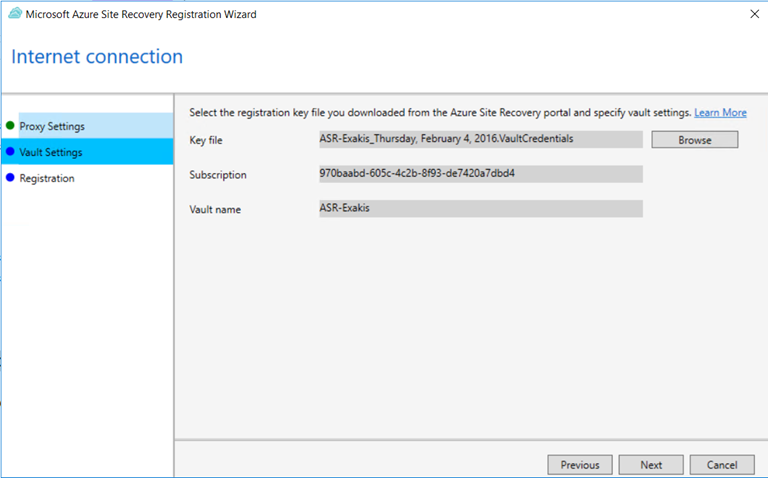
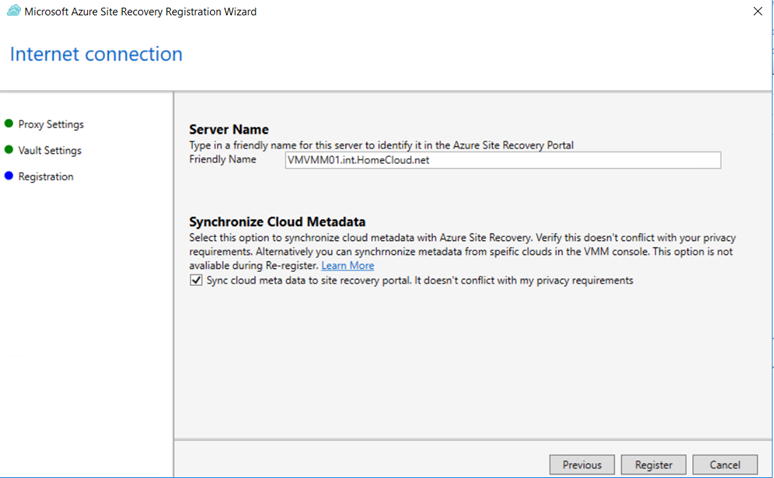
Then run the AzureSiteRecoveyProvider executable. When you are in vault settings screen, specify the registration key file.
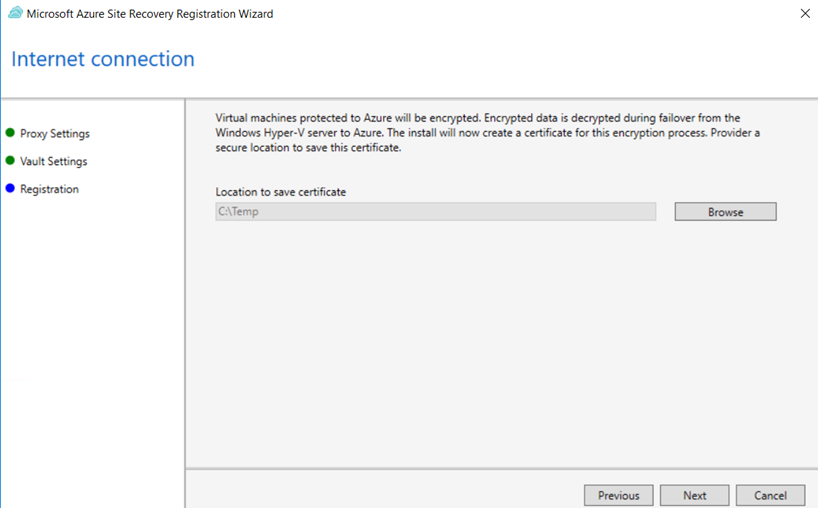
Then you have to specify a location to save a certificate. VMs protected in Azure will be encrypted. If you have to unencrypt data, this certificate will be required. So keep this certificate in several vault!
To finish, specify a friendly name for your VMM Server.
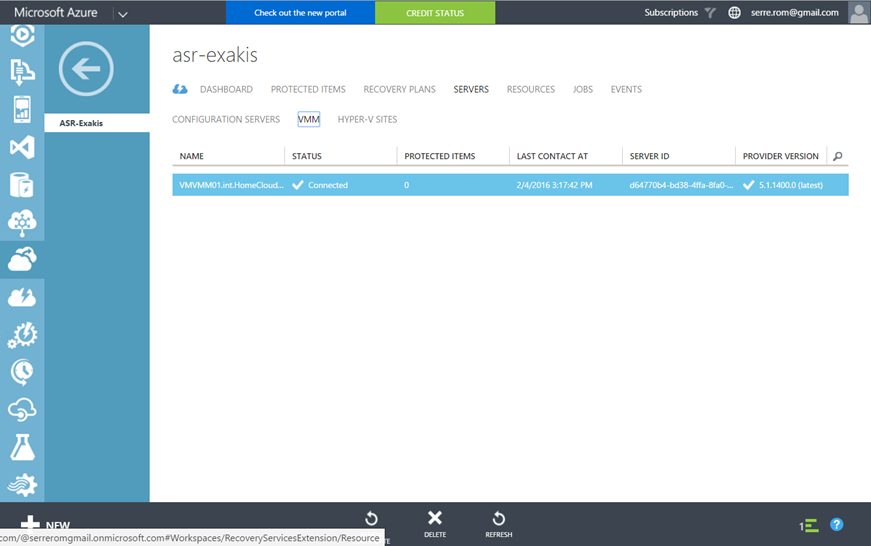
If the registration has worked, you should have your server connected to the site recovery vault as below.
VMM configuration
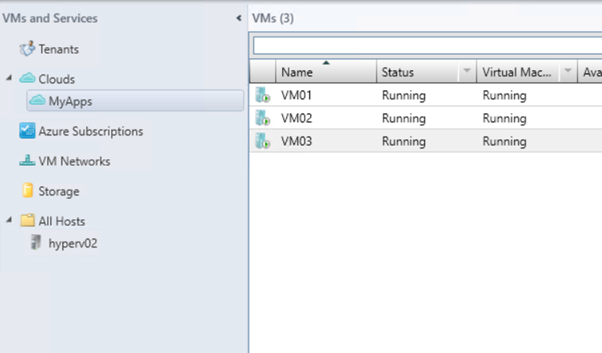
On VMM side, I have created a cloud called MyApps. Three VMs belong to this cloud.
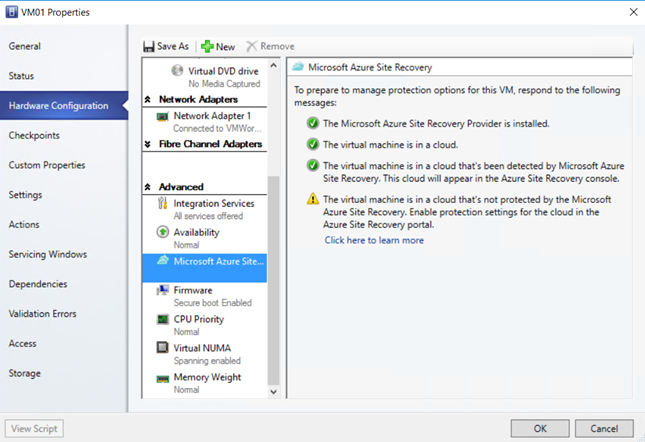
If you edit the properties of a VM, you should have something as below in Microsoft Azure Site Recovery tab.
Deploy agent on Hyper-V hosts
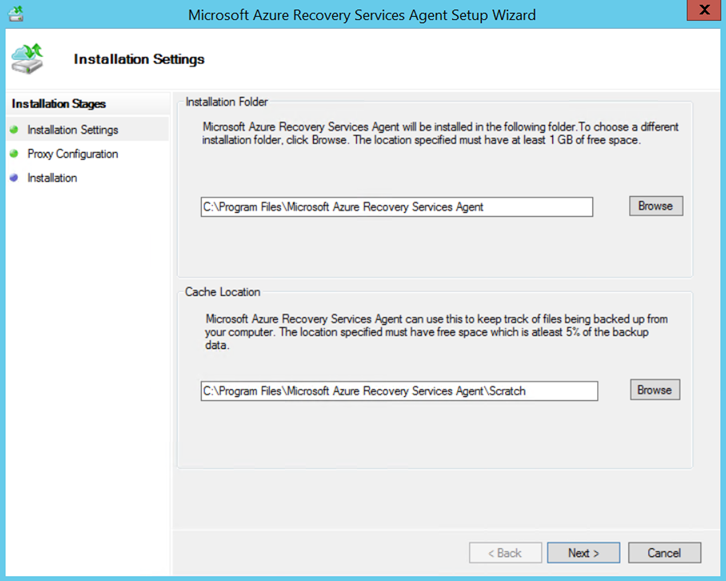
Now that VMM is ready, we are in step 2. Download the Microsoft Azure Recovery Services agent on Hyper-V hosts and run the executable.

Specify an installation folder and a cache location. In real world, the cache location should be located in a separate disk.
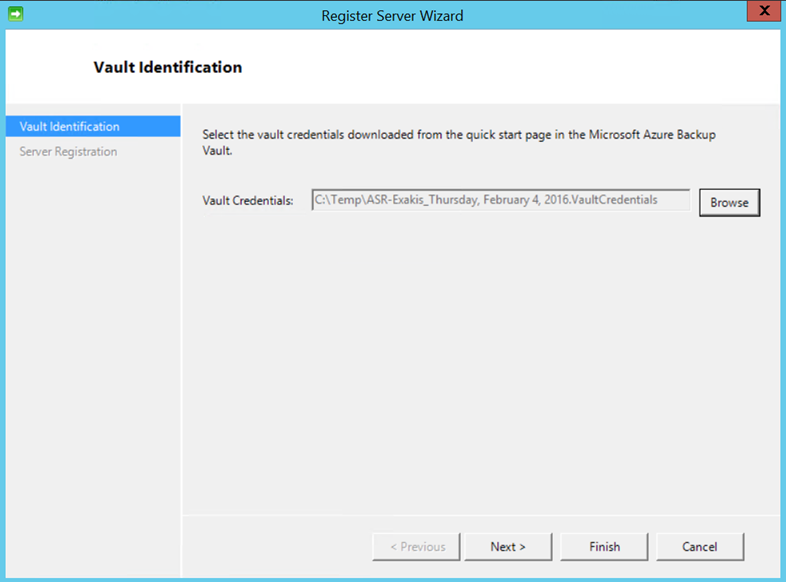
Then specify the registration key file that you have downloaded on the VMM server.
Azure Site Recovery configuration
Now that On-Premises configuration is finished, we can configure Site Recovery vault to protect and replicate your VM. Then we will create a recovery plan to orchestrate the failover in case of disaster.
Map network resource
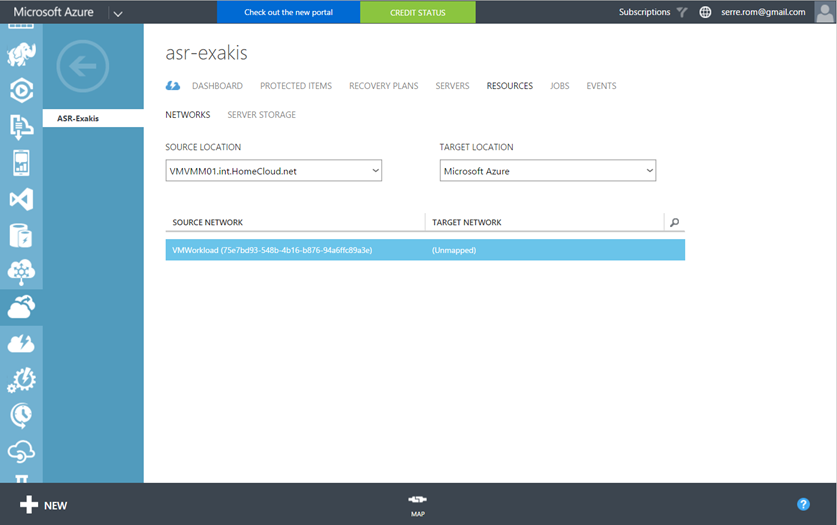
First of all, we have to bind the On-Premises networks with the Virtual Networks created in Microsoft Azure. So navigate to resources and networks as below. Without any configuration, you should have the list of your On-Premises network marked as Unmapped. To bind the On-Premises network to a Virtual Network in Microsoft Azure, select the network and click on map.
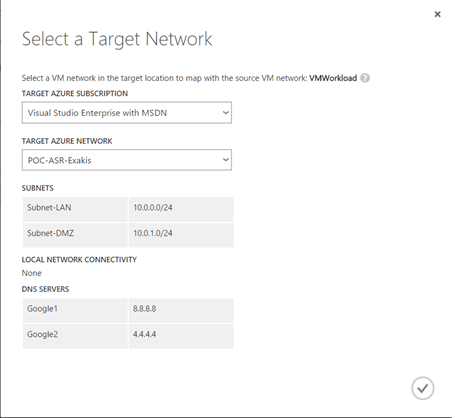
Then select the target Azure network and click on ok.
Protect virtual machines
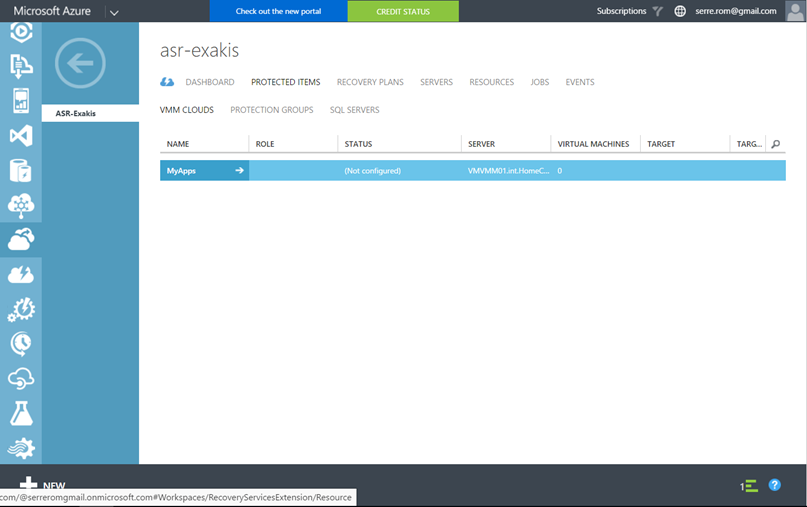
To protect VMs, navigate to protected items and select VMM Clouds. In this view, you should all Clouds that you have created in Virtual Machine Manager. Below you can see that I have the Cloud MyApps.
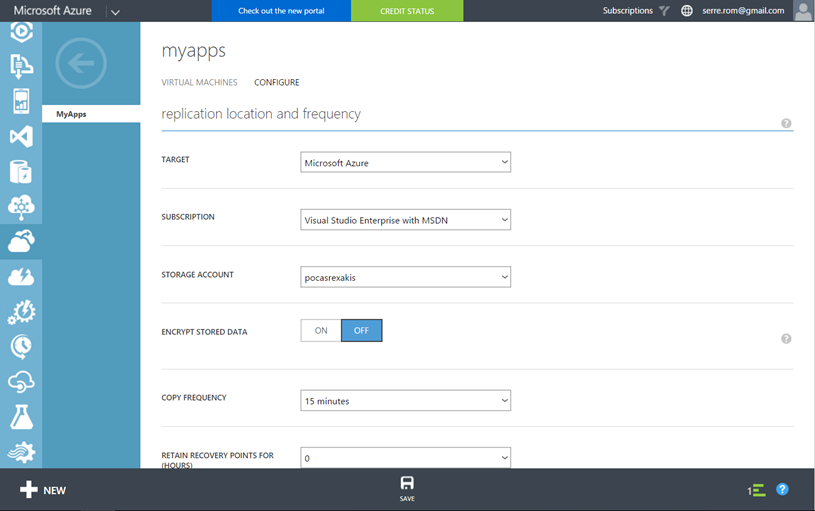
When you select the Cloud, you can configure it as below. You can select the storage account, if you want encrypt stored data, the copy frequency and so on.
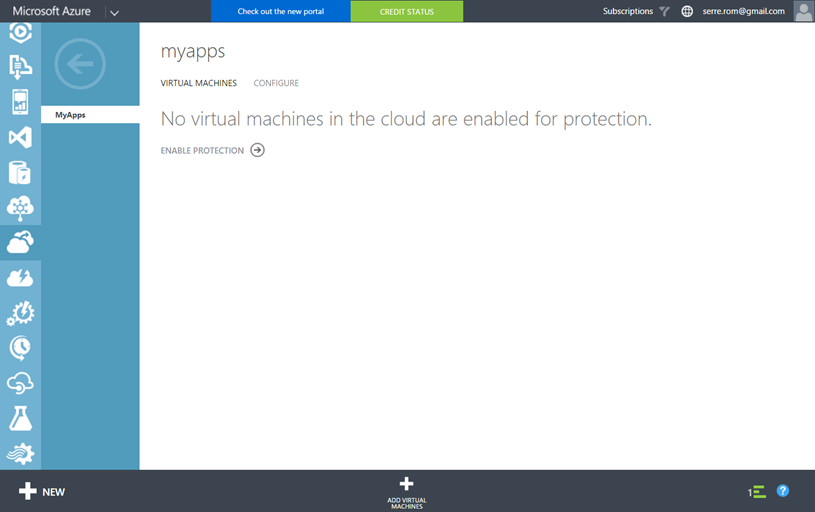
Once you have configured the Cloud protection, we can enable protection on VM. So just select Enable Protection.
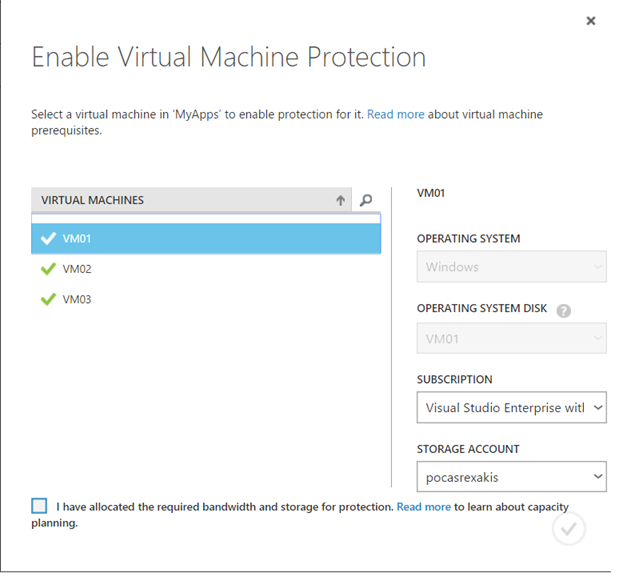
Select the VM that you want to protect and specify the storage account.
Once the protection is enabled, the replication should start. Below you can find a screenshot of the throughput on my router and the state synchronizing on VMs.

Once the replication is finished, the status is protected.

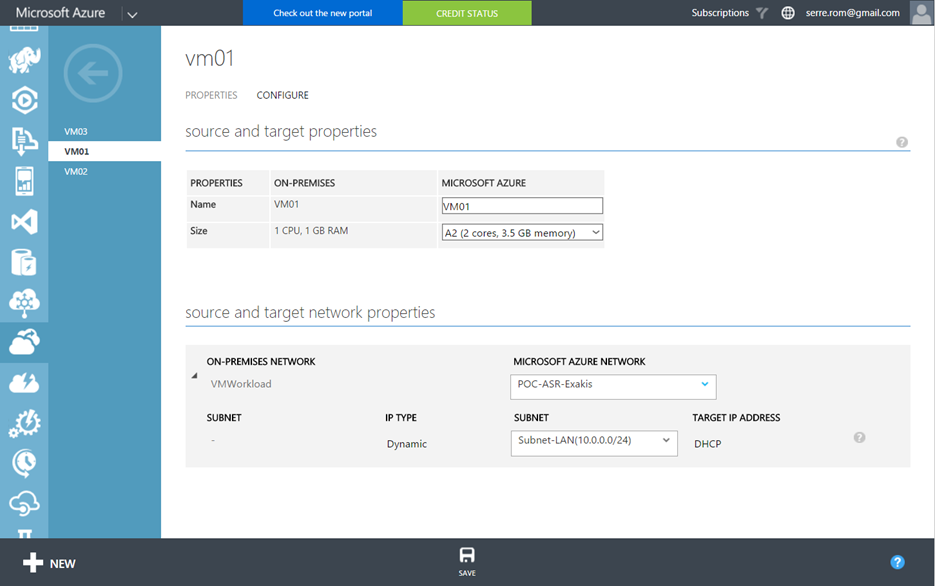
If you click on a protected VM, you can configure its name, its size and its network when it will be failover in Microsoft Azure.
Create a recovery plan
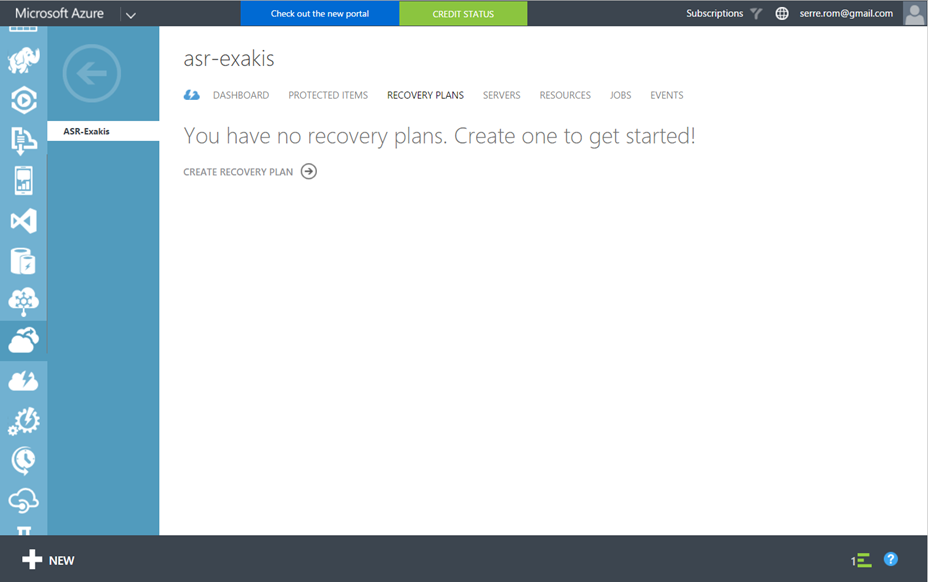
Now that VMs are protected, we can create a recovery plan to orchestrate the failover in case of disaster. Navigate to recovery plans tab and select create recovery plan.
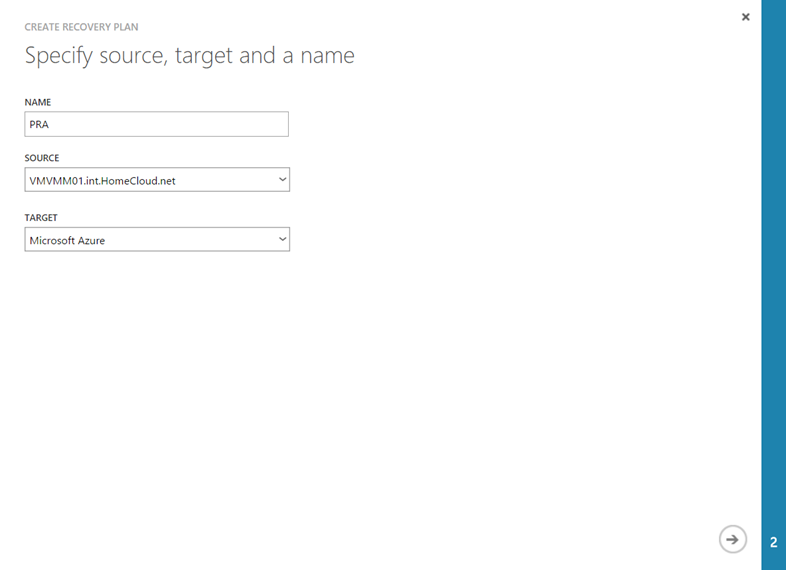
Give a name to your recovery plan then choose the source and the target.
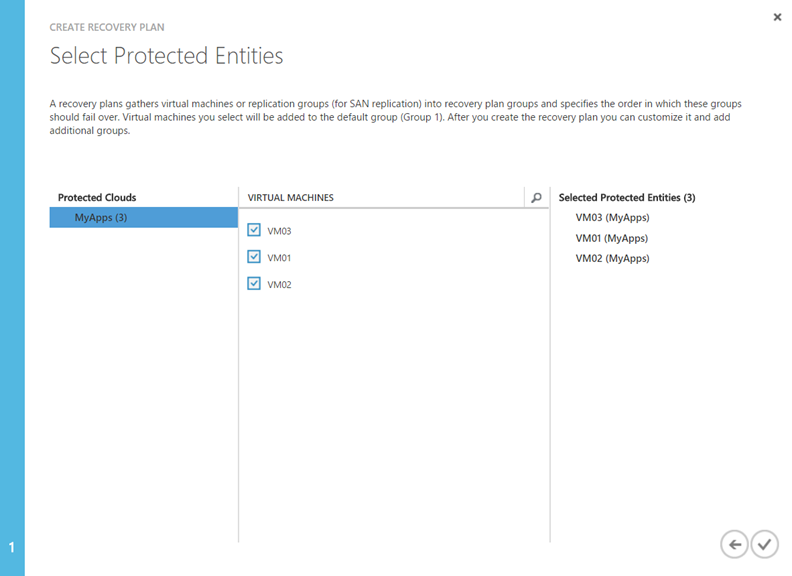
Select the VMs that will be included into the recovery plan.
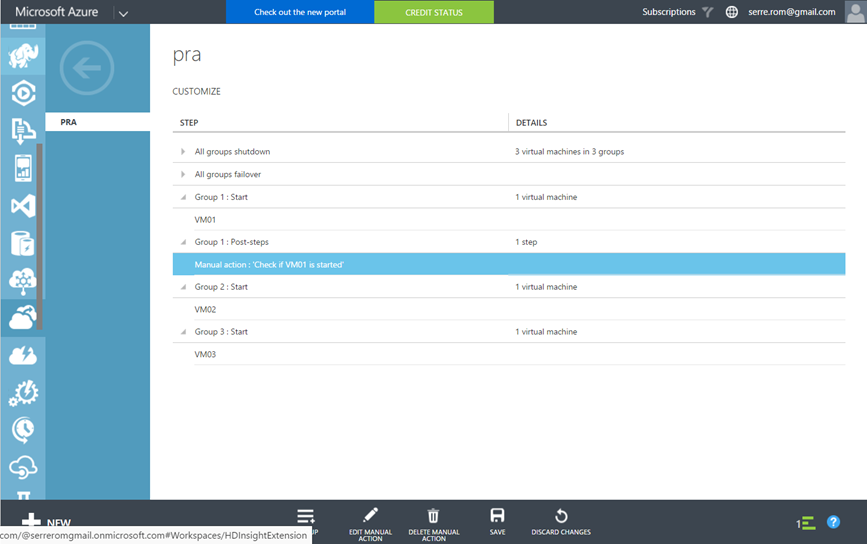
Then you can create groups. Each VM in a single group will be started simultaneously. You can add manual tasks or scripts between groups. To use scripts, you need an Azure Automation account. Below I have a recovery plan with three groups and a single manual task.
Test the plan
Once you have created your recovery plan, you can test it or make a real failover. When you test failover, the source VM will not be stopped and the VM will be started in Azure in a specific network to not disturb the production. When you run a real failover, you can choose unplanned failover or planned failover. With the planned failover, the source VM will be stopped and a final synchronization will be executed. To try my recovery plan, I choose Test failover.

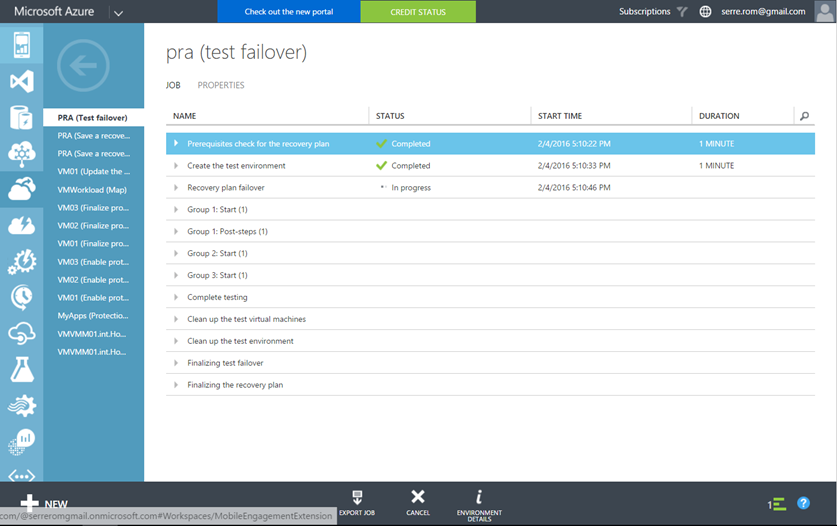
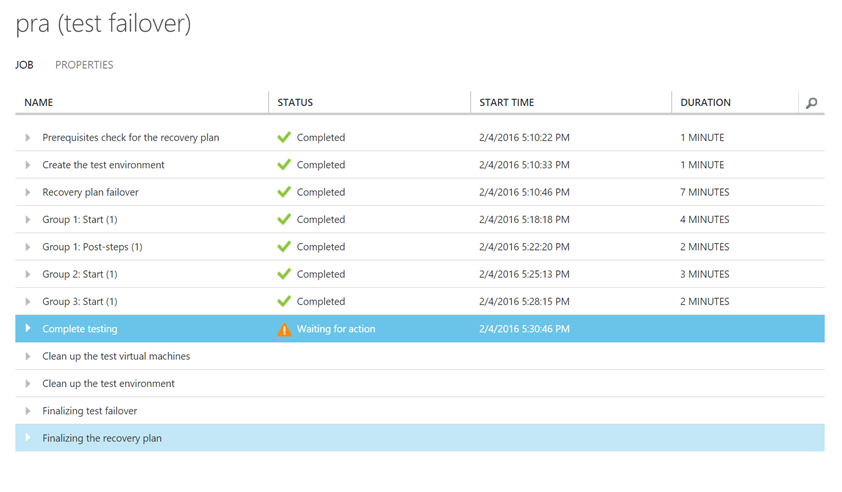
When I click on Test Failover, Microsoft Azure asks me the network where will be connected the VMs. Then the recovery plan is executed.
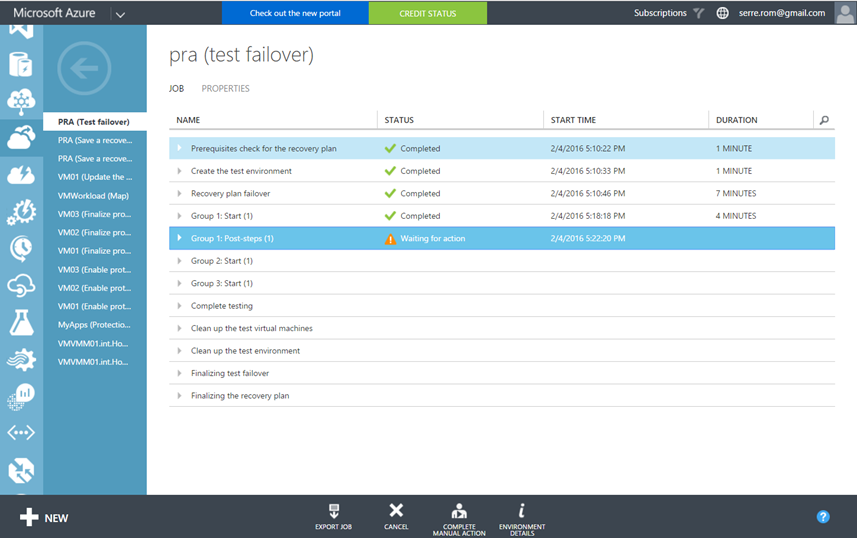
After the group 1, I have added a manual task. So I have to click on complete manual action to continue.
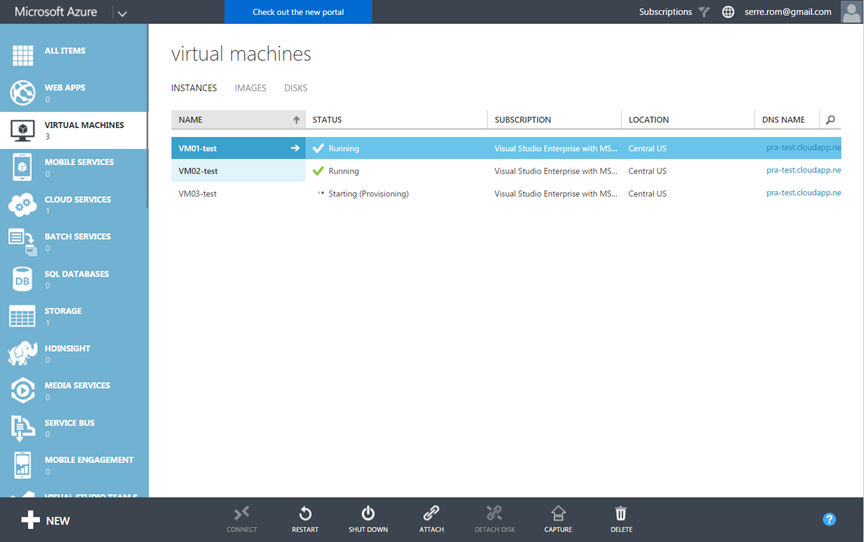
The VMs are created in Microsoft Azure and started regarding to the recovery plan.
When the plan is finished, Microsoft Azure asks me to complete the test. When you have finished to verify that all is ok, you can click on test completed and all VMs will be deleted in Microsoft Azure (the VM only, not the VHD).
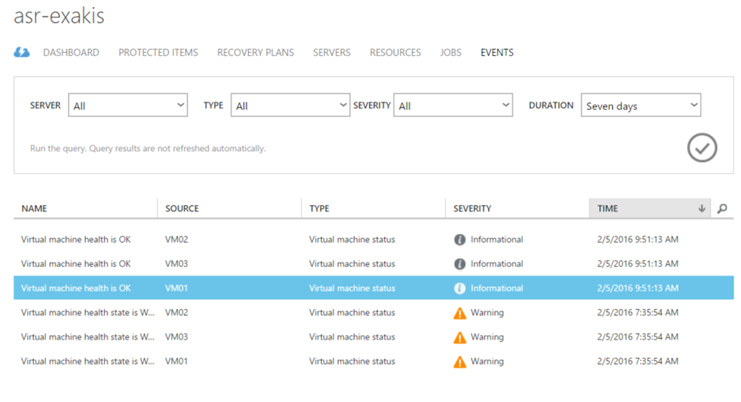
Monitor the virtual machine health
Azure Site Recovery is able to monitor the state of the VM. For example, I have stopped my Hyper-V host to apply some updates. Azure Site Recovery had detected an issue on VMs.


Congratulations Romain !!.
An article very good. Good job. I have learned very much with your articles.
thank you !!.
Hi,
Thank you for this comment. I really appreciate it !
Romain.